My new friend is Stephanie. She is a Mom, Nurse, Adjunct Professor teaching college students and the author Casa Watkins. She has chosen the colors of Gold and Green to decorate her Christmas Tree this year. I hope this ornament will remind her of the heart of gold she has during the Christmas season.
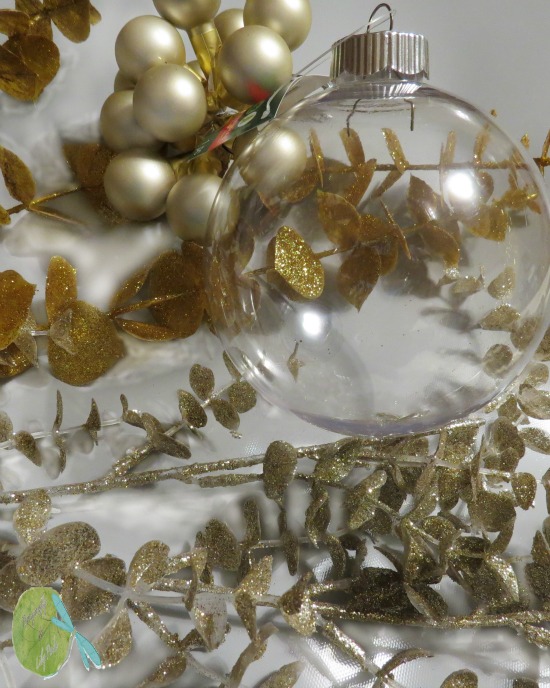
Of course first you need to know the supplies I used for the ornament I made.
I wanted to honor the colors Stephanie wanted for her home. I also realize she likes to change her colors on her Christmas tree. My thought was that I could fill the ornament with the colors of this year and later she could change the ornament to her color choices in the future.
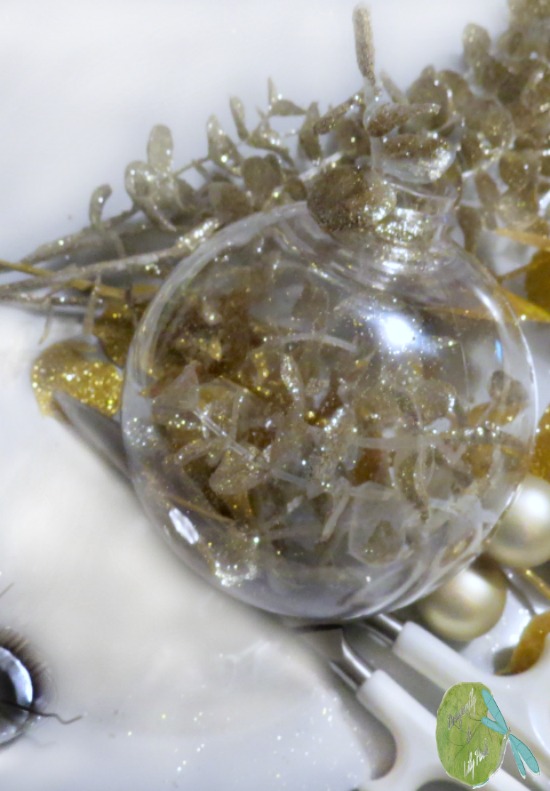
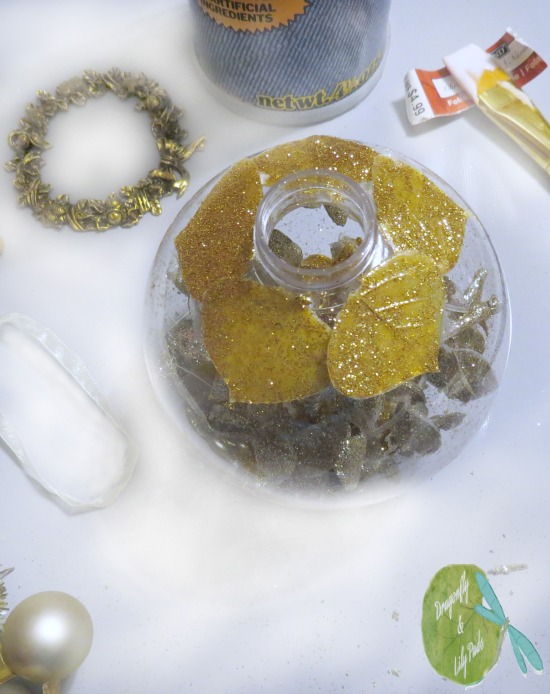
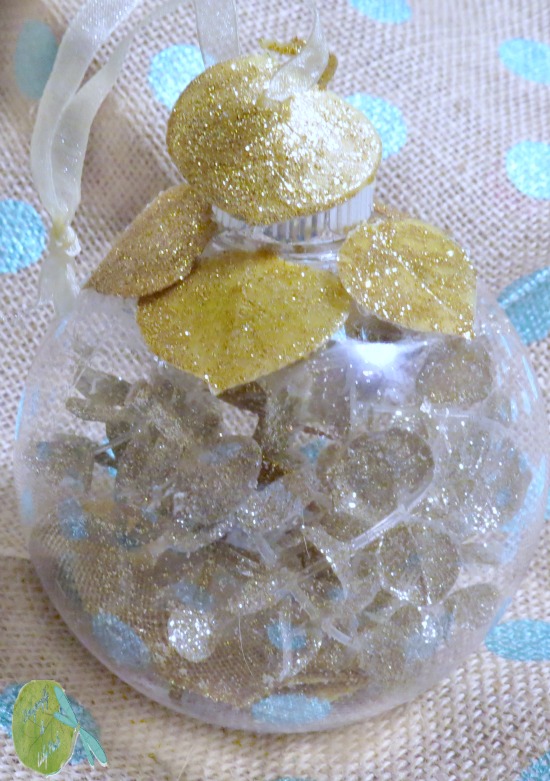
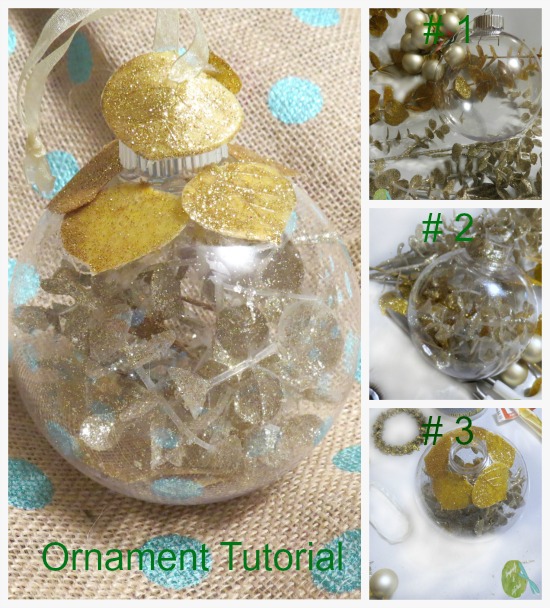
I filled the ball ornament with different shades of gold stems. The two shades are a champagne and bright gold. I also varied the sizes of the filler so it would create more visual impact. Or in other words, "BLING."So often in our busy life we are rushing through moments of our life. Take the time to give the gifts you are making special finishing touches. It will make you and the person who receives the ornament feel great to know you made an extra effort. I glued gold 5 leaves from the stems and then added two leaves I hole punched to the ribbon for hanging the ornament.
Here is what the ornament looks like ready for shipping to Stephanie's Christmas tree. I think it definitely will sparkle like her heart of gold does from her sweet spirit.
Here is a quick summary of the tutorial. It is really as easy as steps 1- 4 and pack to mail. Happy Holidays from all Eighty of the bloggers who Erlene rounded up, which is a huge undertaking. Thank you, our mystical elf Erlene for adding to the celebration of the holidays.
Follow the links below for my friends sharing their tutorials today with me.
Please follow the Links below and share what you have been inspired to create. As always I love to read your comments, so don't forget to write!
Fly along my blogging journey with me by clicking on the words of the links below.
~ Let Your Creative Spirit Dance ~
Until Next Time Happy Creating,
Karen Marie
More Posts to Enjoy:
Please click on the title below to see the post.




8 comments:
Clever idea to hole punch leaves and add them to the hanging loop. I'm sure your exchange partner will love it.
Hello I am a fellow ornament exchange participant popping by. Your ornament is so clever and cute!
Have a wonderful day.
Love the bling! very pretty ornament.
Very nice ornament love the touch of gold.-Mama's Journey
+Erlene,
You have made the most wonderful ornament exchange. Thank you is truly not enough for all your hard work.
Happy Creating,
Karen Marie
+Amy Patterson,
Thank you.
Happy Creating,
Karn Marie
The Chilly Dog,
a little bling in your day is necessary. LOL Thank you!
Happy Creating,
Karen Marie
Decor to Adore,
Thank you for your sweet comment. The ornament exchange has been fun. I will be to visit at your blog asap.
Happy Creating,
Karen Marie
Post a Comment