Thrifty Pillow In Minutes

Monday, February 22, 2016

     Good Morning Darlings! Today let's learn how to make a thrifty pillow in minutes. While in Michigan working on the Water and Energy Room Refresh click link here to see the magic that happened. She saw a Goodwill on the way to the store. Did you know it is programmed in the GPS! Goodwill is in there!
 Prince Charming was patience stopping at yet another place she thought she would find a finishing touch for the project.(not yet started) He checked out sporting equipment catching up to her. When he arrived she asked him to reach up to that top shelf. It was worth the extra stop. A brand new neck roll pillow for one dollar.
Back to the pillow. The items you will need are in the picture below.
Green Scarf made into Pillow with rubber bands and ties.
  A neck roll pillow form, scarf, 2 rubber bands, rope, ribbon, or something to tie, and scissors.
Roll Neck Pillow with Green Fringe Scarf to make Thrift Store Pillow
This scarf was screaming fringe. Since it was long enough it was folded just half off center to let the fringe be the star show.
On a Roll, Wrapped scarf around a neck roll pillow as a pillow cover.
Keeping the pillow form as centered as possible will help with your next step. Gather the fabric tightly then wrap the rubber band around it to hold it tight. 
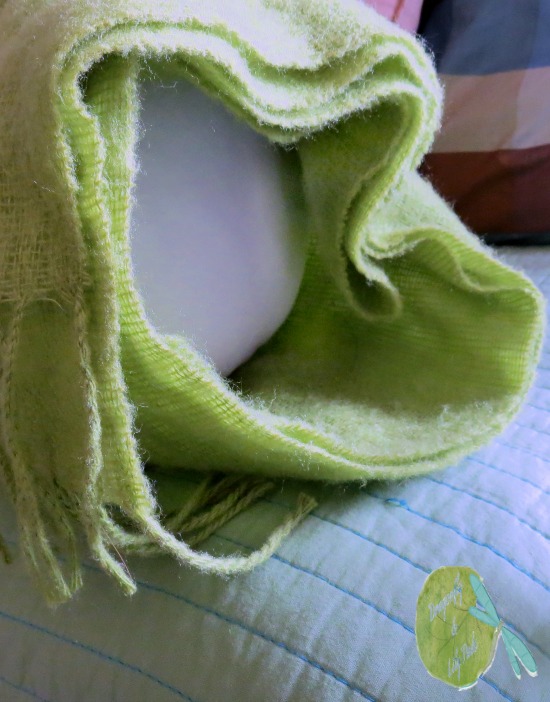
Close up of Rubber band holding Green Scarf wrapped around neck roll pillow
The rubber band will need to be wrapped around each end. It did take a little bit of fidgeting to get the each of the scarf ends even.
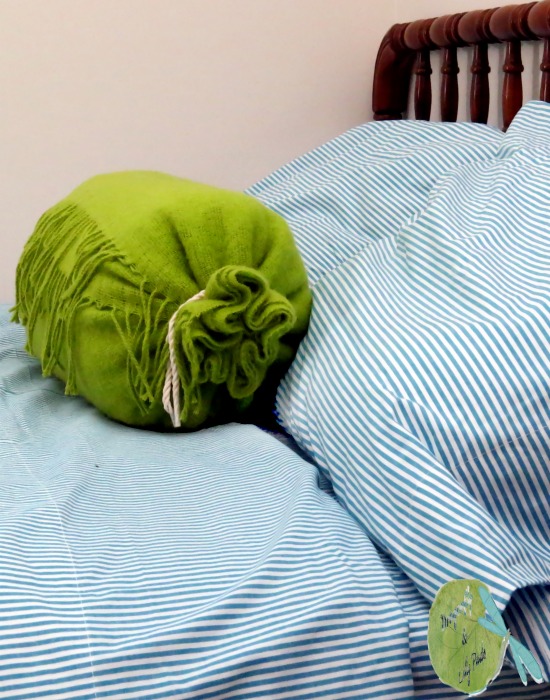
Rope knot holds Nautical pillow cover closed for simple minutes to make pillow
When the rope is cut it is best to use a piece of tape to keep it from fraying. The best way to make sure you have the right length of rope to tie off the ends. Is to do a test cut and tie because the amount will change with the type of fabric you choose for your pillow. Then take the first one you are happy with and cut a duplicate using the first one as a measurement. 
Minutes to make this Thrift store Pillow with a scarf and pillow form
Finishing the project in the most glamorous of places. The floor of course. How many of you work on the same surface with your projects? 
Tie your rope in this case on the back side of your pillow into a knot pulling the rope tight. Then do the same thing to the other end carefully making sure you keep the scarf even on both ends. Tie the knot in the front completing the pillow. 
Crisp Blue and White Striped Sheets with a splash of color Pillow made in minutes.
The scarf was found at a Goodwill in Illinois on half price day. Another great find bringing this pillow to a total of two dollars which is certainly thrifty. 
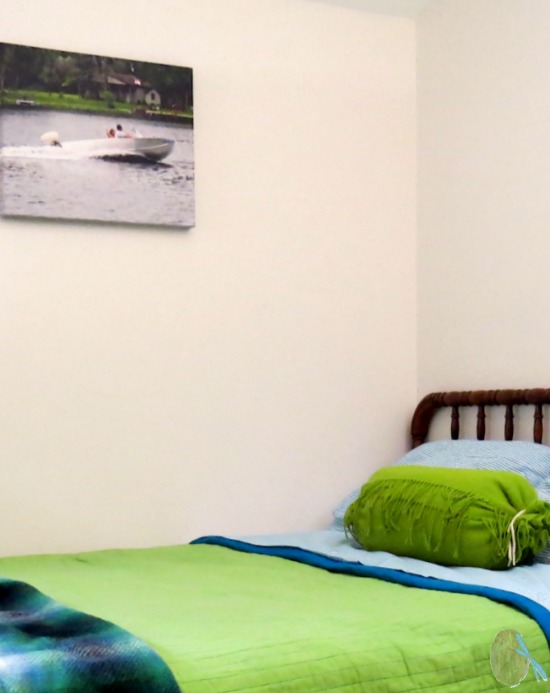
Antique boat inspires nautical room refresh. Pillow made in minutes with thrift store finds.
This pillow can change with the seasons, or be washed quickly. I would recommend taking it apart to launder since it is not permanently affixed.
It took approximately ten minutes with fussing to add a splash of color to the full-size bed in the boys room.


~ Let Your Creative Spirit Dance  ~

Until Next Time Happy Creating,   

      
                                                     Karen Marie

More Posts to Enjoy:

Please click on the title below to see the post.

Ornament Tutorial & Exchange

Sunday, November 8, 2015

 I am participating in the holiday spirit thanks to Erlene author of My Pinterestventures is Hosting the 2015 Ornament Exchange.  Do you know Erlene? Make sure you visit the link above to meet the magical Elf. She somehow managed to wrangle a large group of blogger to create tutorials for you,  then send off ornaments to a new friend. She has created a job that is similar to Santa delivering all the Christmas joy overnight. Only she has subjected herself to this for several days. I hope you enjoy the good cheer, creative ideas and meeting new bloggers in the process.

My new friend is Stephanie. She is a Mom, Nurse, Adjunct Professor teaching college students and the author Casa Watkins. She has chosen the colors of Gold and Green to decorate her Christmas Tree this year. I hope this ornament will remind her of the heart of gold she has during the Christmas season.

Nautical Personalized Cooler

Monday, September 14, 2015

   Today I am showing a step by step directions to personalize a cooler.  I am participating in the September Silhouette Challenge which is Outdoors and a bonus of Green. Let's see How I cover those tasks with my project. We have all been to a soccer game with the other parents trying to figure out which pile belongs to our family. This will help keep you more organized on the treat days, sporting events, or even label the bag groceries to bring home your frozen foods. I use the cooler bag for the grocery store and a day on the boat at the lake. 
D&LP Chevron, Cooler Bag, Source JoAnn Fabrics & Crafts, Teal, White, Green
 I bought this bag last summer on clearance from JoAnn's Crafts Store. I love the color for my lake house. While I was working on this project my oldest son (A) commented on the colors of the cooler. He said teal and green are the themes of the lake house. I said those are the colors because they remind me of the beach. He said he liked it. Which is quite a compliment coming from an Architect and Mechanical Engineer with an eye for design!

Shedding Some Light On The Craft Room

Monday, April 20, 2015

 This lamp from Good Will is the perfect height I wanted for my desk in the craft room. Here she is with her blue shade, rocking those dangling beads in an awkward original state.
Now watch how she transforms into a beautiful addition to my craft room.
Before, Lamp,Good Will, Blue Shade, Gold, Black, Tall, Thrift, Beads
Yep! craft room mess and this is progress. You can see the floor.
I purchased a lamp from a wonderful designer friend of mine for my craft space at the lake house. Click here The Tour Through Blogland is Live with Three New Bloggers! to see my inspiration, learn a little about me and a few friends.  I used it as inspiration to put my personal touch on the lamp for the craft room in Illinois.
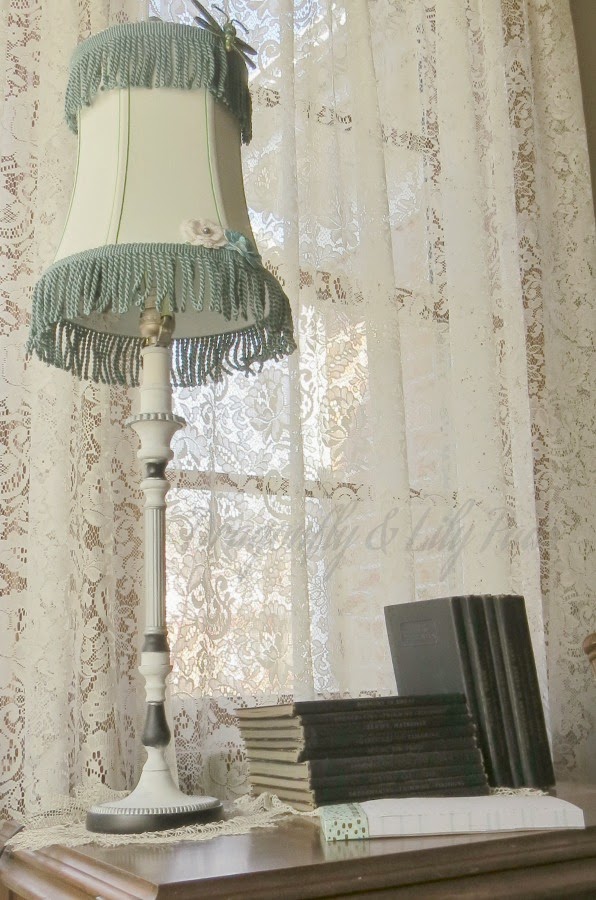
                    After, Lamp, Chalk paint, White, Green Stripes, Dragonfly,Blue Fringe, Flowers,
 The design of the lamp went through a metamorphosis of sorts starting with the planning process to purchasing and then even completion. The supply list changed several times as I tweaked, painted, glued and pinned different pieces to her. She even ended up with part of a napkin ring on here which changed part of her color scheme and materials. When you look at the pictures you will see crystal I never used and beads from necklaces. The fringe was on clearance I bought for a pillow. I think the pillow leftovers look great on my lamp the crystals would have been all wrong. 
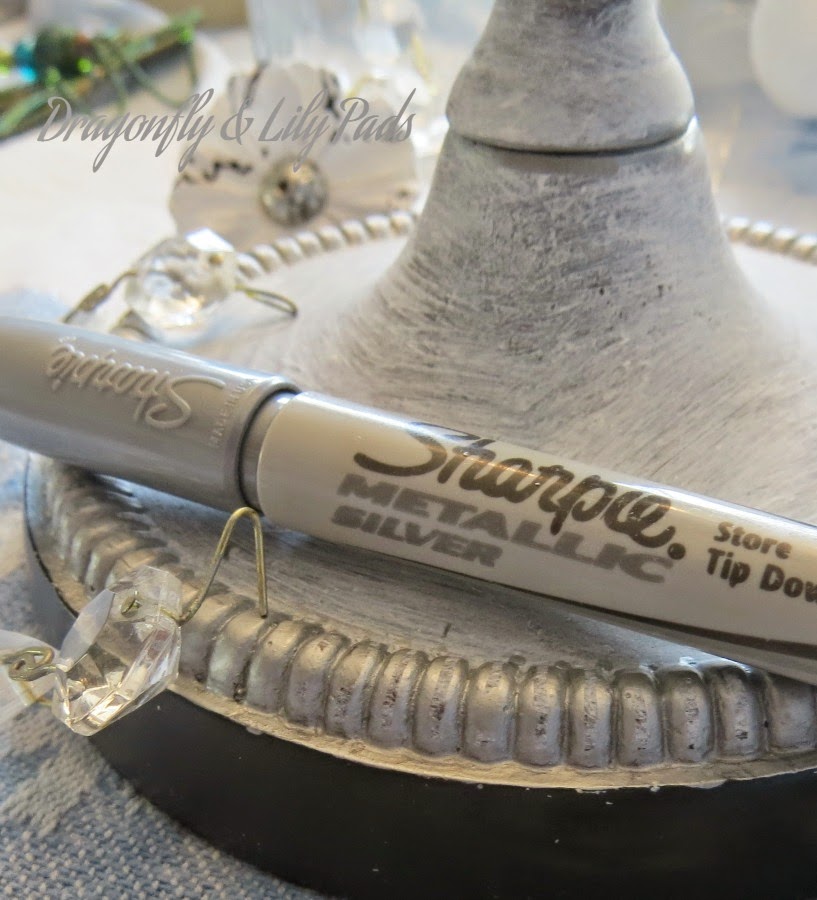
Lamp Base, After, White, Black Silver Sharpie Metallic Marker, Print Flower
White chalk paint left over from a project gave the lamp and shade a clean crisp look. 
I kept the black and added highlights to the details on the lamp base with a Silver Metallic Sharpie Marker. 
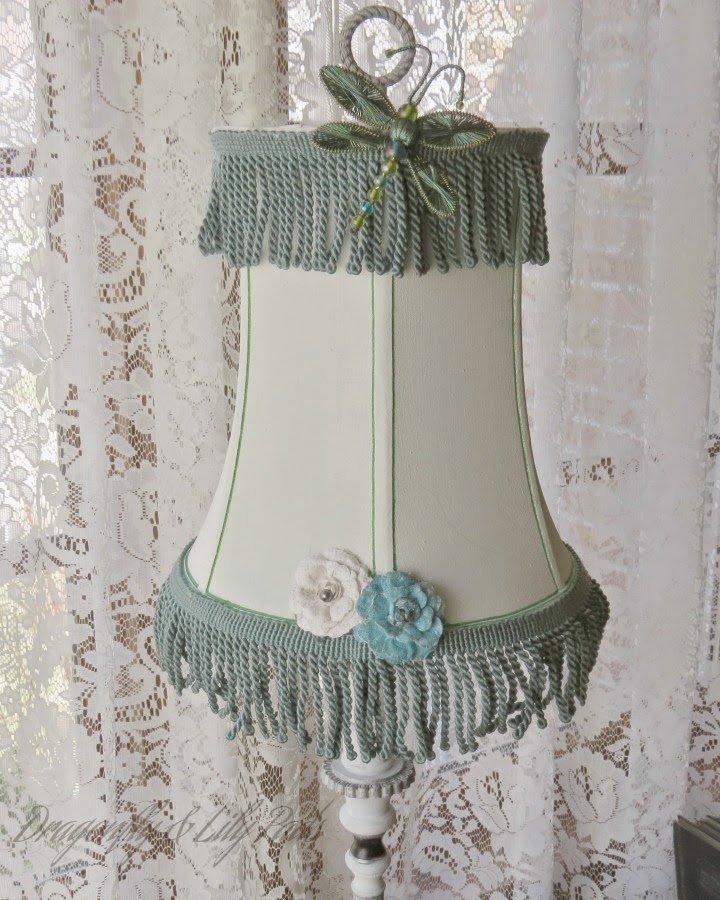
After, White, Lamp shade, Dragonfly Napkin Ring made into Shade embellishment 
The dragonfly was a napkin ring I cut of the ring with wire snips and hot glued the dragonfly to cover where the fringe meets, When you look closely I also painted the finial white and silver. The thin green lines on the shade are two shades of Sharpie Markers tying in the green of the dragonfly.
Flowers, Inside Lamp Decor, Silver, Grey, Gray, Print White
 My friend has some sweet tricks up her sleeve and this is one of my favorites. If your sitting down your probably going to see the inside of the shade. I love that ideas to make all angles pretty. So I added a few paper flowers and a felt rose pin from another thrift store. The center of the back flower was gold. Silver marker made it into a match and of course I had to add a little sparkle.
After, Good Will, Lamp, up-cycle, Fringe Dragonfly, Paint, Marker, Flowers, Napkin ring, Dragonfly
 It is all in the details.
 I love the new addition to my craft room.  This s my grandmother's sewing machine in my living room the light in the basement is "terrible".  Another treasure from my grandmother is her antique books. They are a series on how to learn to be a good home maker. I really should read them some day. I have read snippets of some. They are very funny compared to our world today. LOL
 I am extremely grateful to all of you have been checking to see what is new while I have been busy. I have been working on projects, the back end of the blog and preparing for my first blogging conference called Snap. Working on projects you can see what I have been doing. To non-bloggers the back end of a blog means computer work that sends all this magic I create to you. 
 The Snap Conference I will be writing about when I return home. It is for bloggers to learn more exciting possibilities to bring to you on this very site. Follow my Instagram, Twitter and Facebook to see some of the action during the conference. I be sharing the fun, work, and education I have obtained to keep improving my skill set to bring you current information useful in your home.
 Who is going to give lamp a re-vamp for a room in your house? 
I would love to see the pictures of what you create for your home. Link below and share what you have been inspired to create. As always you know I love your comments so don't forget to write!

Fly along my blogging journey with me (Click links below to Connect)                            
     
                 Pinterest   Facebook    Google +  Twitter   Instagram   BlogLovin

 ~ Let Your Creative Spirit Dance  ~

Until Next Time Happy Creating, 
         Karen Marie