Antiqued Snowman Top Hat

Sunday, December 3, 2017

Every snowman needs a top hat.

 As part of the 12 Days of Christmas Blog Hop day three has a theme of snowman. A snowman without a top hat would not be complete. This quick easy Mod Podge tutorial will have you creating the perfect top hat for your best dressed snowman decor. Follow along with the many creative makers during the blog hop to be inspired by this talented group of bloggers.

Antiqued Snowman Top Hat on the Third Day of the !2 Days of Christmas Blog Hop


Welcome to the third annual 12 Days of Christmas Blog Hop!

Stop by every day from December first through the twelfth for new ideas you can use to make your season brighter!

Meet Your Hosts

They have all been busy as Elves creating, decorating, cooking and crafting tons of new ideas for you to try this holiday season!
 Lauren~Wonderfully Made I Vanessa~DIY 180 I Kimberly~A Wonderful Thought I Kim~Everyday Parties I Erica~Erica Ever After


Supplies 

Antique Mod Podge
Paint Brush for Mod Podge (Chip Brushworks great)
Wax or Parchment Paper
Tacky Glue
Paper Top Hat 
Newspaper
Crystal Glitter DecoArt Paint
Small Paint Brush for Glitter Paint
Thick and Thin Ribbon
Pom Poms 
Paint Brush for Mod Podge 


Paper Snowman Hat  with beginning of Paper Mache using Antique White Mod Podge to age the News Paper, Middle steps pf DIY Winter Glam Decor


Tutorial 

Tear the newspaper into pieces including the edges. You should use text. No pictures to get this look. Using the chip brush dip it into the antique Mod Podge painting it onto the paper hat shape. As you add more paper covering the whole top hat you will continue to add more Mod Podge layering more paper to the edge of where you just finished. Similar to keeping a wet edge when you are painting. Give your whole top hat a coat of Mod Podge to seal the project. It will also give you and antique or yellowing look to your newspaper. Let it dry over night. 

DIY Winter Glam Decor Tutorial last three steps after letting it dry overnight.

The next morning measure by wrapping the wider ribbon around the hat cut.  Tacky Glue worked great to hold it in place. The thin ribbon added a little more glamour to the top hat which is easy to attach by tying it in a not after following the same process to cut the length needed. Pom poms seemed like the perfect way to finish the decoration with added sparkle. Let it dry then add to your Christmas decorating in your home. Below is a few examples of how I styled small vignettes with my DIY winter glam decor top hat.


Tablescape of Coffee Table Decor DIY Winter Glam Paper Mache Hat  on Teal Charger with Candles wrapped with DIY Removabel Stars.


Doesn't it look pretty with the glowing DIY Holiday Candle Wrap I made with my Cricut.  The snow man top hat and stars will be decor which will last right through the winter months. Don't you just hate the emptiness of your home after the holidays. I know I feel like my house is naked.⌣


Antique White Paper Mache Hat Close up with Star Wrapped Glitter Candle


By tipping the hat with the cotton peaking out below the top hat gives this simple glamour inspired top hat a whole new feel. Finally I was able to catch a photo with a glistening a bit of glam.


Paper Mache Snowman Hat with Cotton Base and Soft Teal Charger

Add to Your Pinterest

Since you 💖DIY Winter Glam Decor here is a perfect pin to save it to your Holiday or Winter Boards.

DIY Winter Glam Decor Snowman News Paper Mache Covered Hat.


Question of the day- What is your favorite Frosty The Snowman Show? 

Lets Get Social
              Pinterest   Facebook    Google +  Twitter   Instagram   BlogLovin

~ Let Your Creative Spirit Dance  ~ 
      
                                                     Karen Marie


Be sure to visit our fellow 12 Days of Christmas Bloggers below for even more creative ideas this holiday season!

12 Days of Christmas Blog Hop 2018. Intelligentdomestications.com

Mother's Day Hand Made Gift

Monday, March 20, 2017

 Hands can express so many emotions and feelings. This gift has been one of my favorite to make since the vision of a family holding hands brings me a warm cozy vibe. This tutorial of a Mother's Day hand made gift will provide you with the basic tools and ideas. This project came out so cool in less than 15 minutes excluding drying time. A young child would need help but a older children could handle this art/gift on their own.

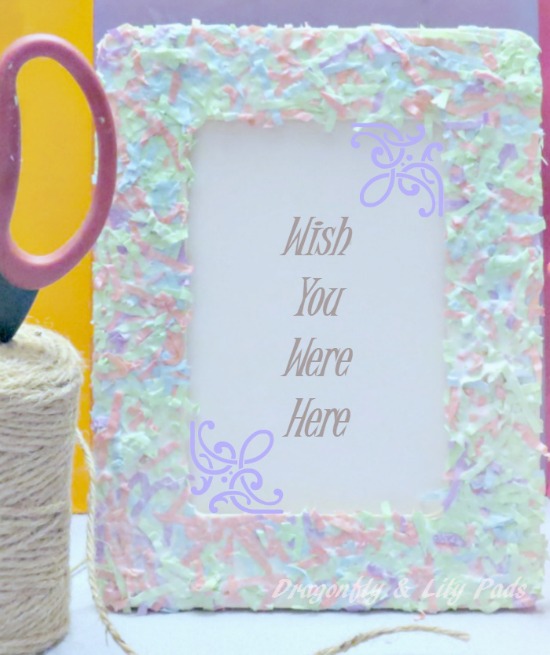
Fun Confetti Frame

Friday, July 1, 2016

It is time for Summer Fun Week #3. Be prepared to get messy with this fun confetti frame to make with the kids. My name is Karen Marie from Dragonfly & Lily Pads and Emily has been so kind to invite me to share in her Summer Fun Series. I have a college degree in early childhood and was an pre-school teacher for several years before becoming a stay at home mom. My sons are now grown-up giving me a new title, "Out Sourced Mom."
 Today I will be showing you how to make an easy and affordable picture frame to save those summer memories. 
         Fun Confetti Frame, Summer Run Series, Guest Post, Kids Projects Paper, Scissors, Mod Podge

Denim Art for the Craft Room

Monday, May 18, 2015


 I have been transitioning our basement into a craft room for quite some time now. As you know Dragonfly & Lily Pads is a rather long name for my blog. Some have told me it is not great branding but, I love it and have decided to make it work. I have a special reason for the name I've included the link to the post here Dragonfly Pad.
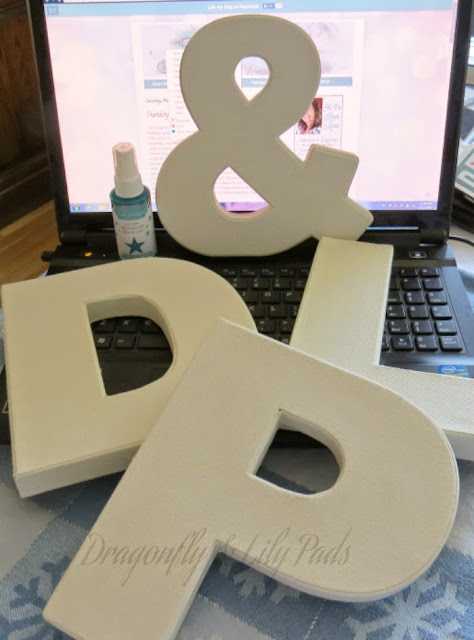
 When I am writing the blog I use the initials D&LP for my notes and even a bit in the text. The moment I saw these white denim letters a project plan was hatched to add branding and decor to my craft room. Look at the start of the Craft Room. Yikes! Yes, this is real life in transition and the first space I have ever had of my own in my life.
White Denim D, &, L, P from Michael's, Turquoise Spray Ink, Computer

Hearts A Flutter Valentine Decor

Thursday, February 12, 2015

Love is in the air which means my heart is all a flutter. While shopping for craft room storage at a  half price sale in January #AHeapOfChangeChallenge. I wandered by the valentine displays as I was piling up the first cart with items I deemed necessary to an organized craft space. (Squirrel) I wanted to make a decoration with materials slightly out of the box. As Prince Charming headed for the second cart I chose a bunch of silk roses in ivory and pink, 2 cardboard hearts and valentine card stock. I already had bakers twine in red, pink and white at home. After the cashier rang up our two carts of sale items we filled the car and headed home.
I will be posting about the storage and organized craft room reveal soon.
Roses, Ivory, White, Cardboard Hearts, Hearts a Flutter Valentine Decor
Can you imagine how these rose petals are going to look with Mod Podge adhering them to the card board hearts?

My Five Favorite Posts of 2014

Friday, January 2, 2015

     My favorite posts from 2014 are probably different then yours but that is because they are my projects and I know the why,what, when and how of each one. I am learning how to express myself to share those portions of the story with out becoming *boring! Of course I want to write a great tutorial, take awesome pictures, and keep you interested in coming back. Telling all the back stories might become a Blah, ba, ba type of post. +Michele Alger owner of Shelstringblog asked a group of us to round up our favorite post of the year.

 At first I though this is a piece of cake but, then it was like choosing a favorite child. They all are special to me, although it was hard to choose here are my 5 favorite posts no particular order.

Fall Mod Podge Pumpkins

Tuesday, November 4, 2014


   A recent Fall trip to our lake home was not providing the desirable effect. Cold, wind, and rain were dampening my mood. Do you remember my Mod Podge Miracle post?
 My Prince Charming had to drive to the store. Normally I would skip the grocery store to stay lakeside but, not today. He offered to go to our local +Michaels Stores with me, then I could find a creative outlet to brighten my gloomy day. Now a trip to a craft store with my guy, may not be every girls cup of tea but, I was happy to get to spend time with my busy man.
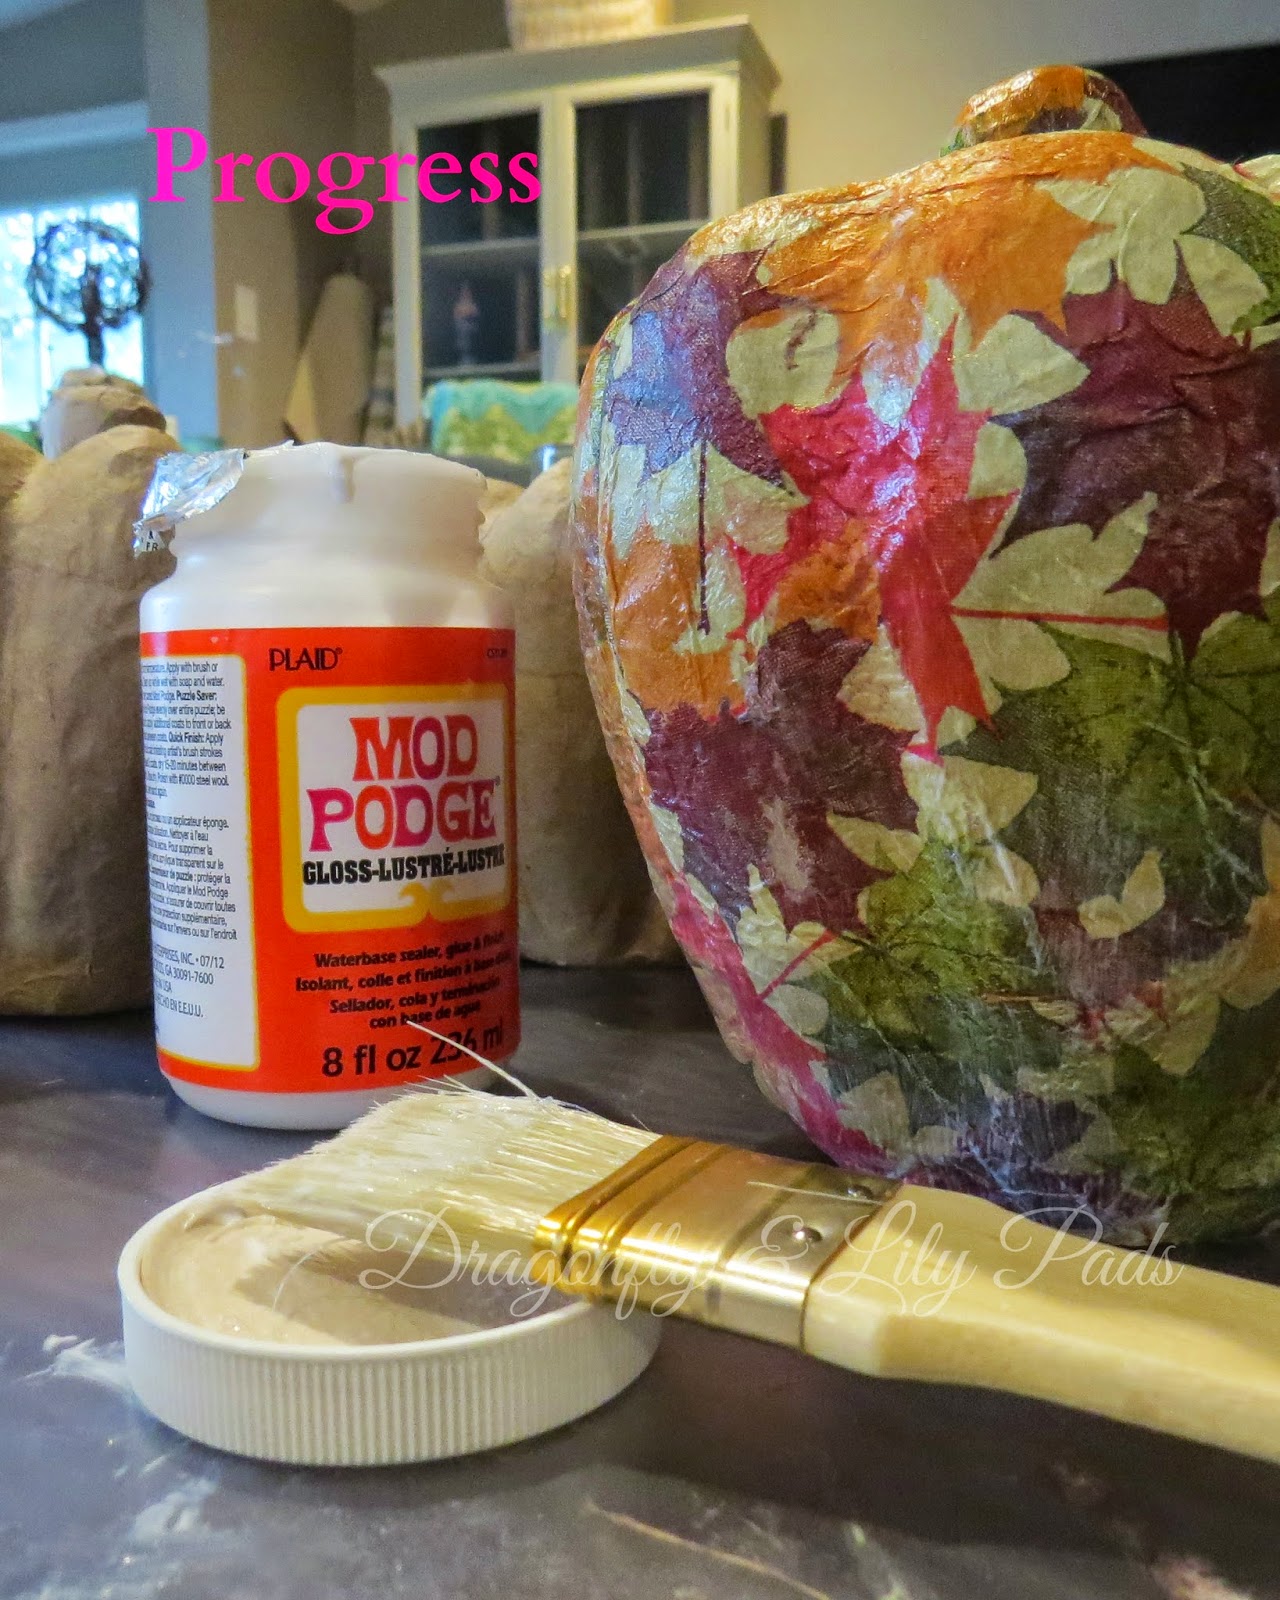
  I spotted an affordable, easy Fall craft project, on sale in the first aisle. This display of sale items led to Fall Mod Podge Pumpkins. We bought two items on our shopping trip paper pumpkins, and cocktail napkins for this craft. We all know I could never walk out of a craft store with two items. Two carts were full! Those items are for future posts. Hey! It was a Clearance Sale.  I already had the paint brush, and Mod Podge from previous projects. 
Paper Pumpkins, Paint brush, Fall Leaves Paper Napkins, Fall Decor Fall DecorationMod Podge, Paint Brush, Progress, Mod Podge drying on the Fall Pumpkins

Mod Podge Miracle

Tuesday, January 21, 2014

     If you have read my blog before you know our lake home is named Dragonfly. If you haven't read the story you might want to read here to catch-up. The first week we spent at the lake house was in middle of  Winter 2012. We had plenty to do with picking out what furniture should go where, selecting how we would use the space in the house and what priorities should be on the top of our list. Well of course, we all know that a girl must put her own touch on her home, with Prince Charming's approval. Tee Hee! Pier Imports had a few items I was looking for, along with a coupon of course. So as any good husband would do, for his lady, off to the store we went, with coupon in hand. I found a beautiful dragonfly vase and bought two right away. One for my girlfriend whose Dad had passed away and one for the lake home. We saw a few other items we were interested in but wanted to be sure we would use them.
 By early Spring I was on a first name bases with the Manager of the store, at that time it was (Steve). We had become Platinum Members of the savings club. Our home was shaping up nicely. I bought another dragonfly vase for my girlfriends sister for a birthday gift. As luck would have it my darling guy had a little accident and broke it while transporting it. Oh well accidents happen so we bought another. Is there anything better then platinum is what your thinking right? Ok, now three girls, who love dragonflies, each have a vase! Success Right? For a while every thing was perfect in dragonfly world, until one fine Spring day I bought myself some flowers, stuck them proudly in the vase, sat back, and took in the view. Brilliant you might say but, when it came time to clean out the vase that yuck line, that you get from the water, would not budge. Since it did not say," Do Not Use Dishwasher", clearly that would work. CLEARLY it did because that is exactly how it came of the dishwasher. Clean and glistening with not a touch of color, or a thought of a dragonfly. I thought I couldn't fix the vase, so I left it sparkle, filled it with fake flowers and called it day. 
  I toyed around with the idea of painting it myself.  As you can see in the picture below my first attempt was not successful. I set the vase aside again, thinking about scraping off the painting I had started.
I found these napkins at Pier 1 Imports, on sale naturally. Bought +Mod Podge at +Joann Fabrics. I never used this product  before but, I figured it can't look any worse then it already turn out. 
 To make the napkins more sheer I took two white layers of paper off the napkin. This made only pattern translucent. I painted on the Mod Podge and then applied the napkin on top. I was surprised it dried faster then the directions explained. After placing the first napkin, I figured I would just place the next one, matching up the patterns similar to sewing. Nope, the patterns did not follow one another, so I had to tear and paste the pieces together matching each one. A few places just did not match so I used my creative license to make the pattern pleasant to your eyes. This is what it look like before I put the final coat of Mod Podge to seal the vase.

 Here is the vase in its current place in our Dragonfly Pad as we call it for blog. I am very pleased with the completed project. It does not look exactly like the original but, now I have a one of a kind vase that, I know Not To Wash It In The Dishwasher. 

 It sits atop an antique back bar from a lake home in Kansas City, MO. 
I love the red flowers, purple dragonflies and soft shades of green. There is also pink, white, lavender, yellow and deeper green flowers in 
the paper napkin pattern. I think it turned out beautiful, which is why I called it a miracle because, I thought I had melted my dragonfly vase. Who knew napkins with Mod Podge & gold paint could save my vase.

Stay warm and toasty while crafting your way through this Polar Vortex!


You have taken your time to view my blog. Please leave a comment so I can thank you personally. I would love to read your cleaning blunders show a girl some blog love.