- About Me ▾
- My Homes ▾
- Projects▾
- Holidays ▾
- Tutorials ▾
- Other ▾
A Box with a Purpose
Wednesday, January 27, 2016
Hello, Darlins! Today I am feeling so excited to share my craft room. Being a creative soul there is no place like a craft room to get your craft on. Angie from Country Chic Cottage (Click the link here to see her Craft Room Tour) invited me to join her and several other bloggers to show you where we create.
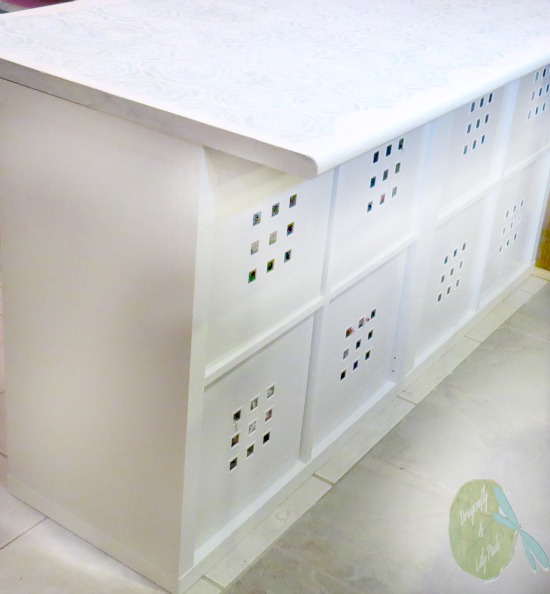
One of the first pieces I built is a desk with plenty of storage. The base is made of two +IKEA USA Kallax units available for $34.99 plus 8 drawers. The top was found at a thrift store for eight dollars. Score! Click here to see this post.
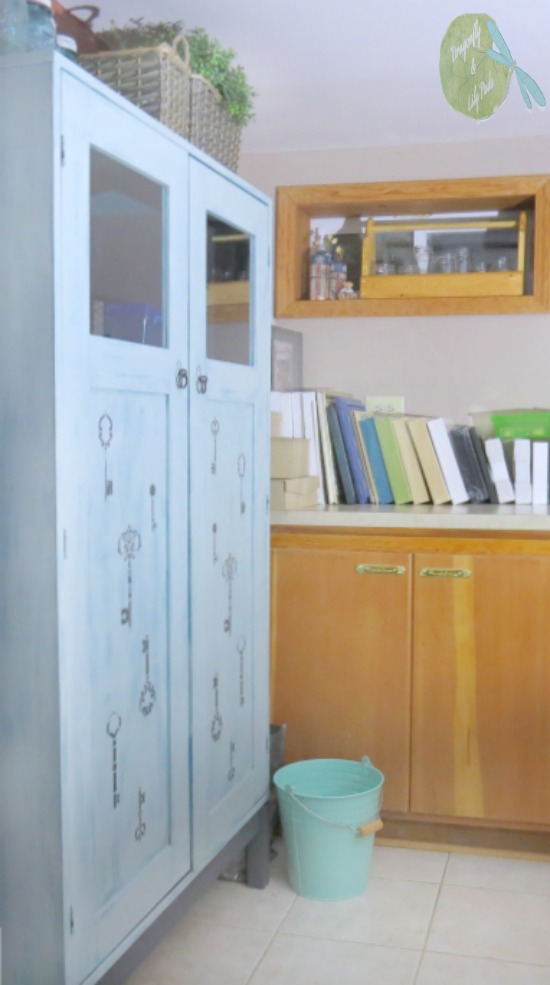
Another project that brought storage and organization to the craft room is the Ikea computer cabinet seen here that was transformed. (To see the before click here.)
A girl changes her mind occasionally. This beauty has now moved across the room and I must say I am a happy girl. My first post about this space was quite awhile ago. Do you remember, Dancing In The Craft Room? Click here to see the post. My goodness this has been a long process with still more to finish. Dancing in the Craft Room II shares more of the journey to my happy place. Click here for the link.The lamp was two separate purchases from a thrift store. Click the link here. The change in this beauty came from an inspiration of my friend Deanna who is an amazing artist.
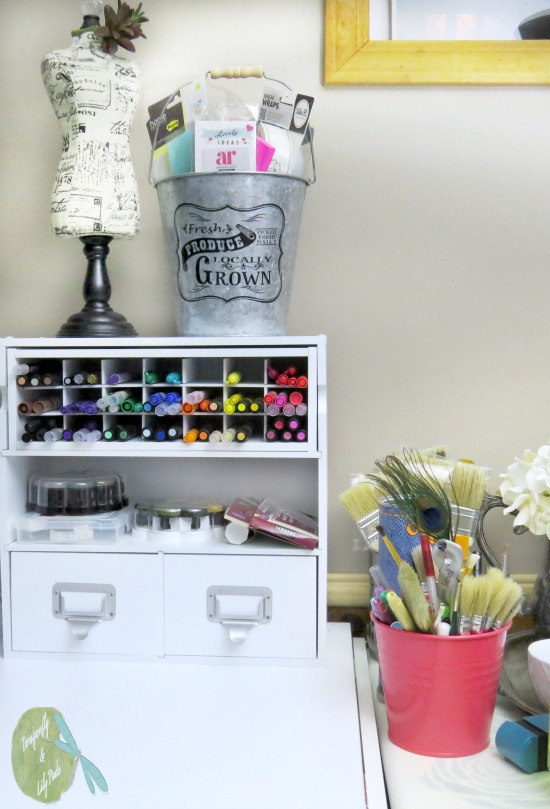
Organization is key to keep your craft room ready for moments of inspiration. These items were purchased at +Michaels Stores and thrift stores. The pop of coral bucket is from Ikea.
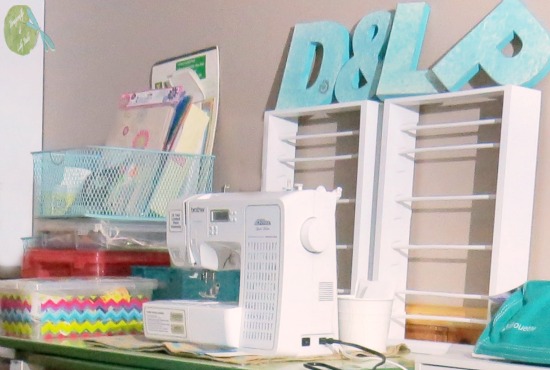
Recently I painted my Nana's table and set up my sewing machine with ribbon storage I still need to fill. This table made me an emotional mess as I was painting her now called Nana. Click here for the link. This precious table made a long trip from Brooklyn with my Nana and her three children. My Mom was seven on the day Pearl Harbor was attacked. My mom recalled how long it took to arrive in Chicago because the train stopped to pick up the soldiers to report for duty. I created the denim letters too. Click here to see how.
You can never have enough storage. I am still working on the supplies I have not found a good home for yet. My craft room sits in the middle of our basement. Today by changing the location of the craft cabinet I think I like the new arrangement. On my lists of improvements is emptying the space next to my work area to add more storage along with large work space for painting furniture.
Do you have a craft room? Is there a favorite item in your craft room I am missing? Please share your ideas in the comments.
~ Let Your Creative Spirit Dance ~
Until Next Time Happy Creating,
Karen Marie
More Posts to Enjoy:
Please click on the title below to see the post.
Labels:
Bloggers,
Craft Room Tour,
Ikea,
Michaels,
Nana's Table,
Organization,
sewing,
Storage,
Thrift Store
Friday, October 9, 2015
Hello, Darlins'!
Miss Charlotte author of Ciburbanity asked me if I was interested in participating in the Swap It Like Its Hot group of bloggers she gathered. I was ready and willing with a quick yes. This is a fun game of chance and thinking outside of the box (Literally) with a group of creative bloggers. I sent a box of treasures purchased from a local thrift store to my dear friend Michelle Beaton author of Weekend Crafts. If this worked perfectly you have already been to visit Weekend Craft to visit Michelle. If you missed the post click on the name of her blog above
I received a package from another good friend Evey. She sent me what is pictured below. Evey is a busy lady, but you can always find her at Evey's Creations. I think she is going to be surprised how outside the box thinking, a few stash supplies and $2.24 dollars created this group of decor items. Please click on Evey's blog name in this paragraph or at the bottom of this post to follow along the "Swap It Like Its Hot," trail of packages.
The pile of goodies includes a nineteen cent circle of wood I forgot to mention earlier. Did you see the smoke rising from my town? There was a lot of thinking going on to get to this point. The picture below gives you the start of a plan for the tile plaques. I only broke one of the tiles taking them out of the frame. The other two are safely in my stash for future projects.


