As promised I am back from my cookie break and ready for a fantastic time at the Do-It-Herself Work Shop at +The Home Depot. I am having a great time learning and meeting new people during the work shop and even made plans to meet up with a new friend for the next one already.
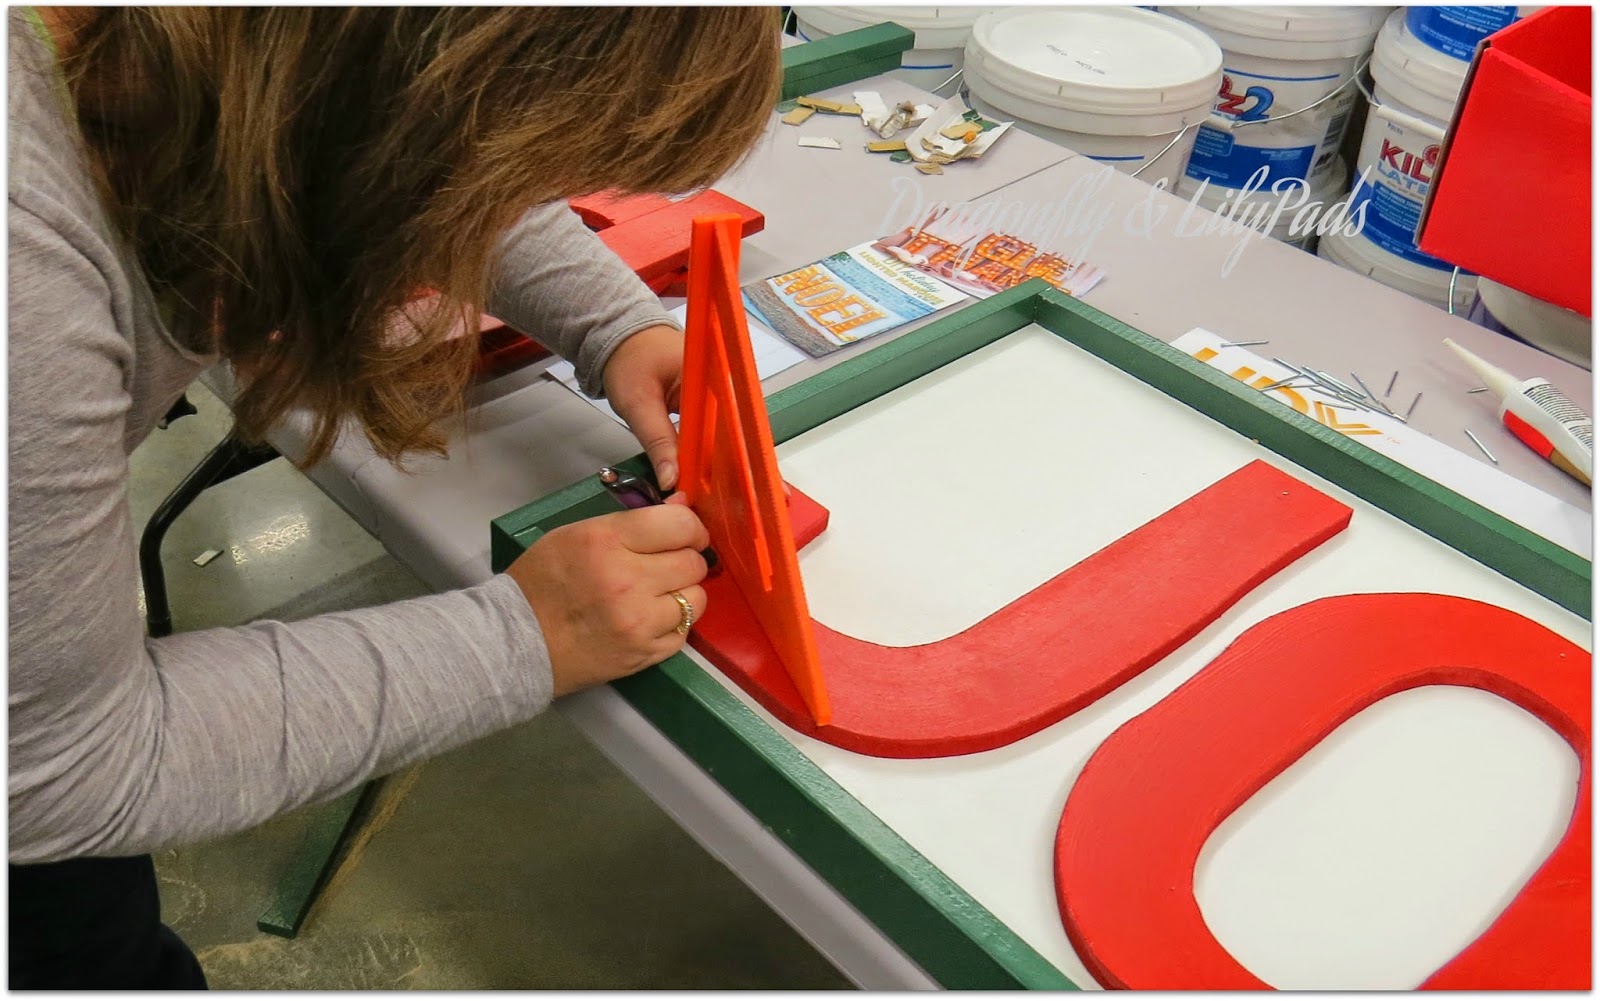
In this picture I am measuring and marking the drill holes for the lights.
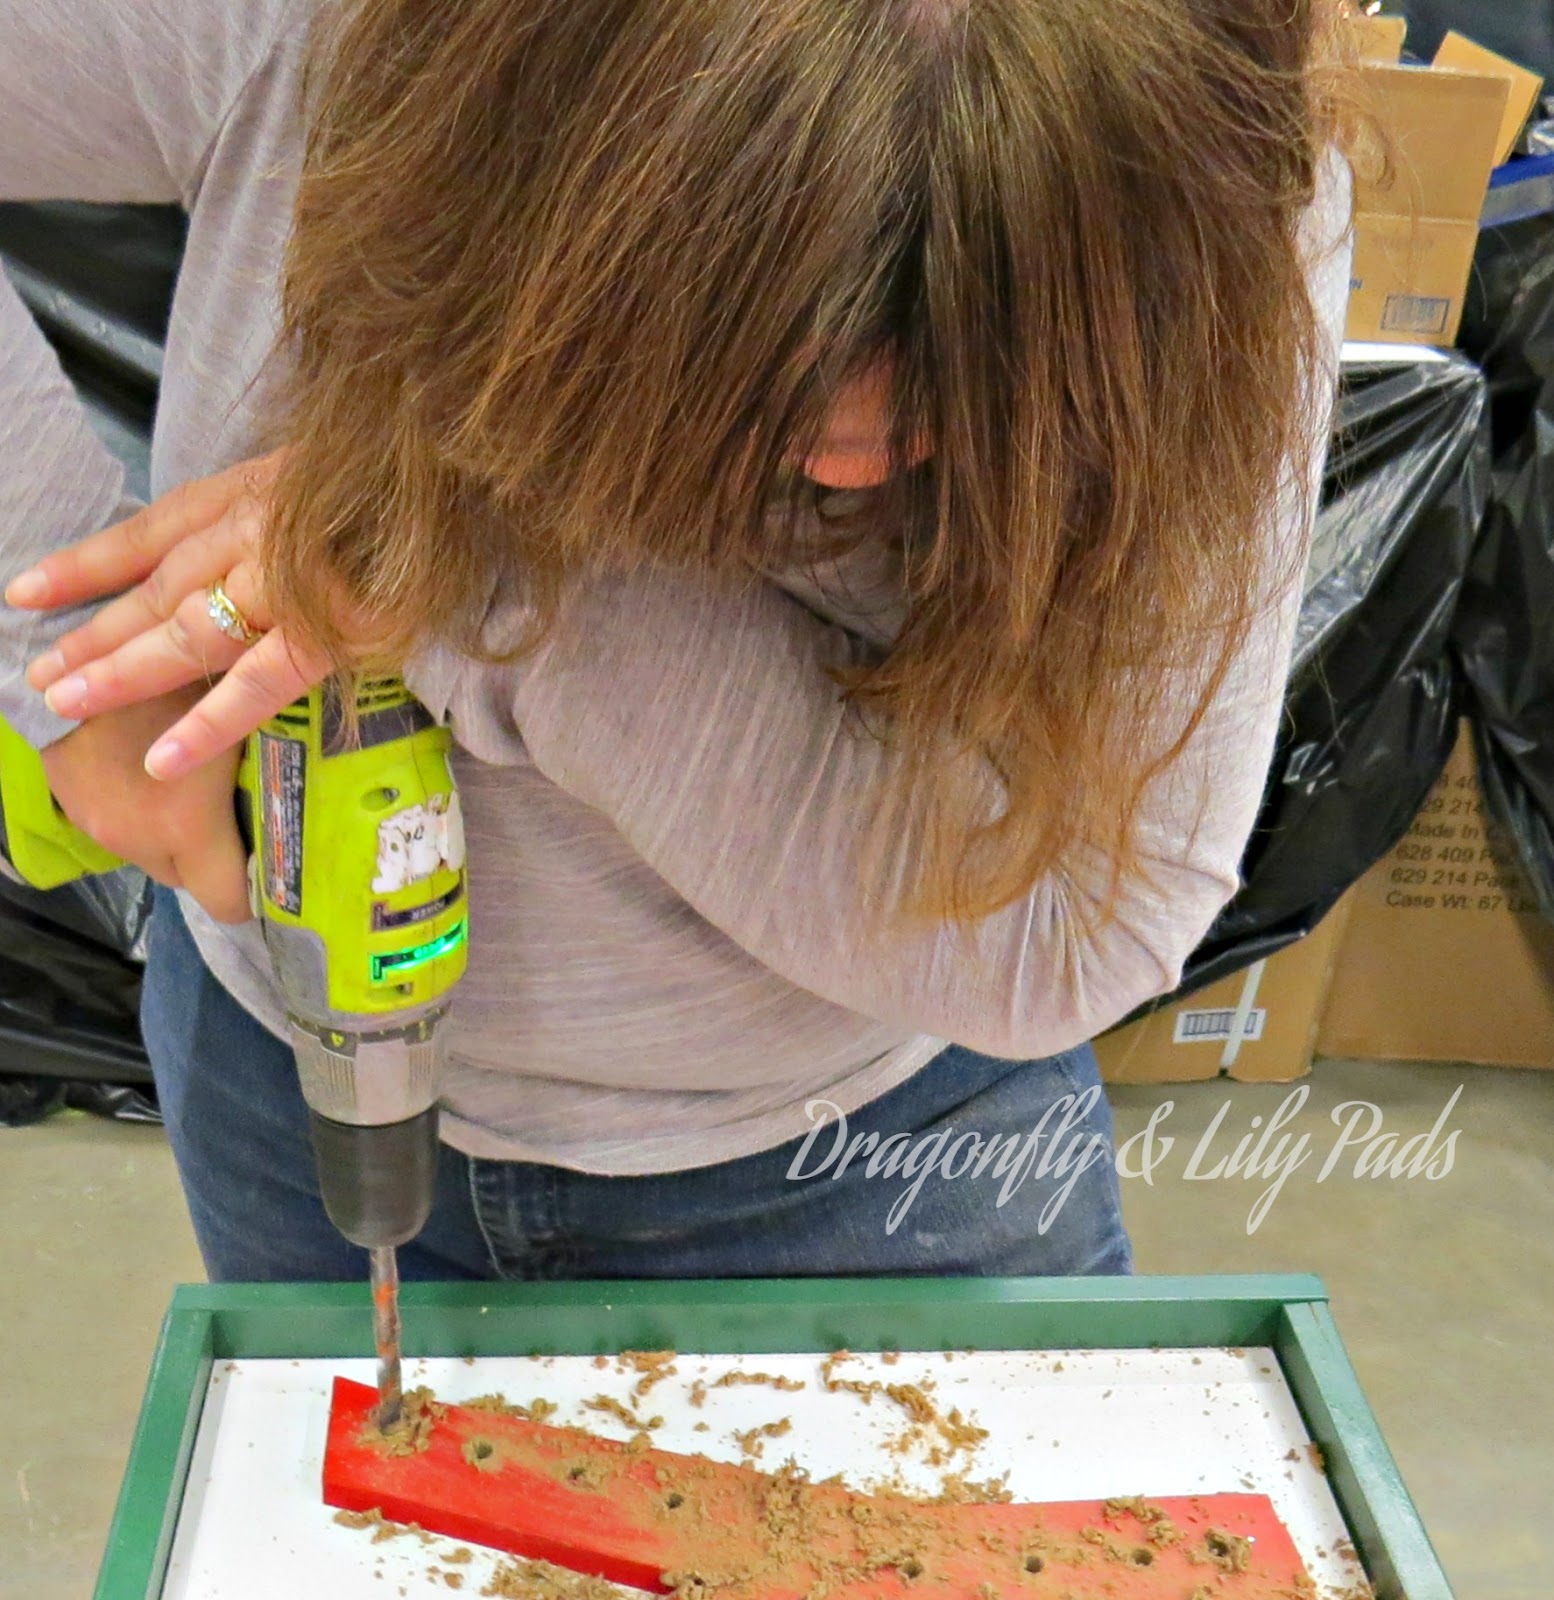
Cousin It decided to make an appearance while drilling the last few holes. Hey I was very focused on what I was doing. LOL
In this picture I am measuring and marking the drill holes for the lights.
Cousin It decided to make an appearance while drilling the last few holes. Hey I was very focused on what I was doing. LOL
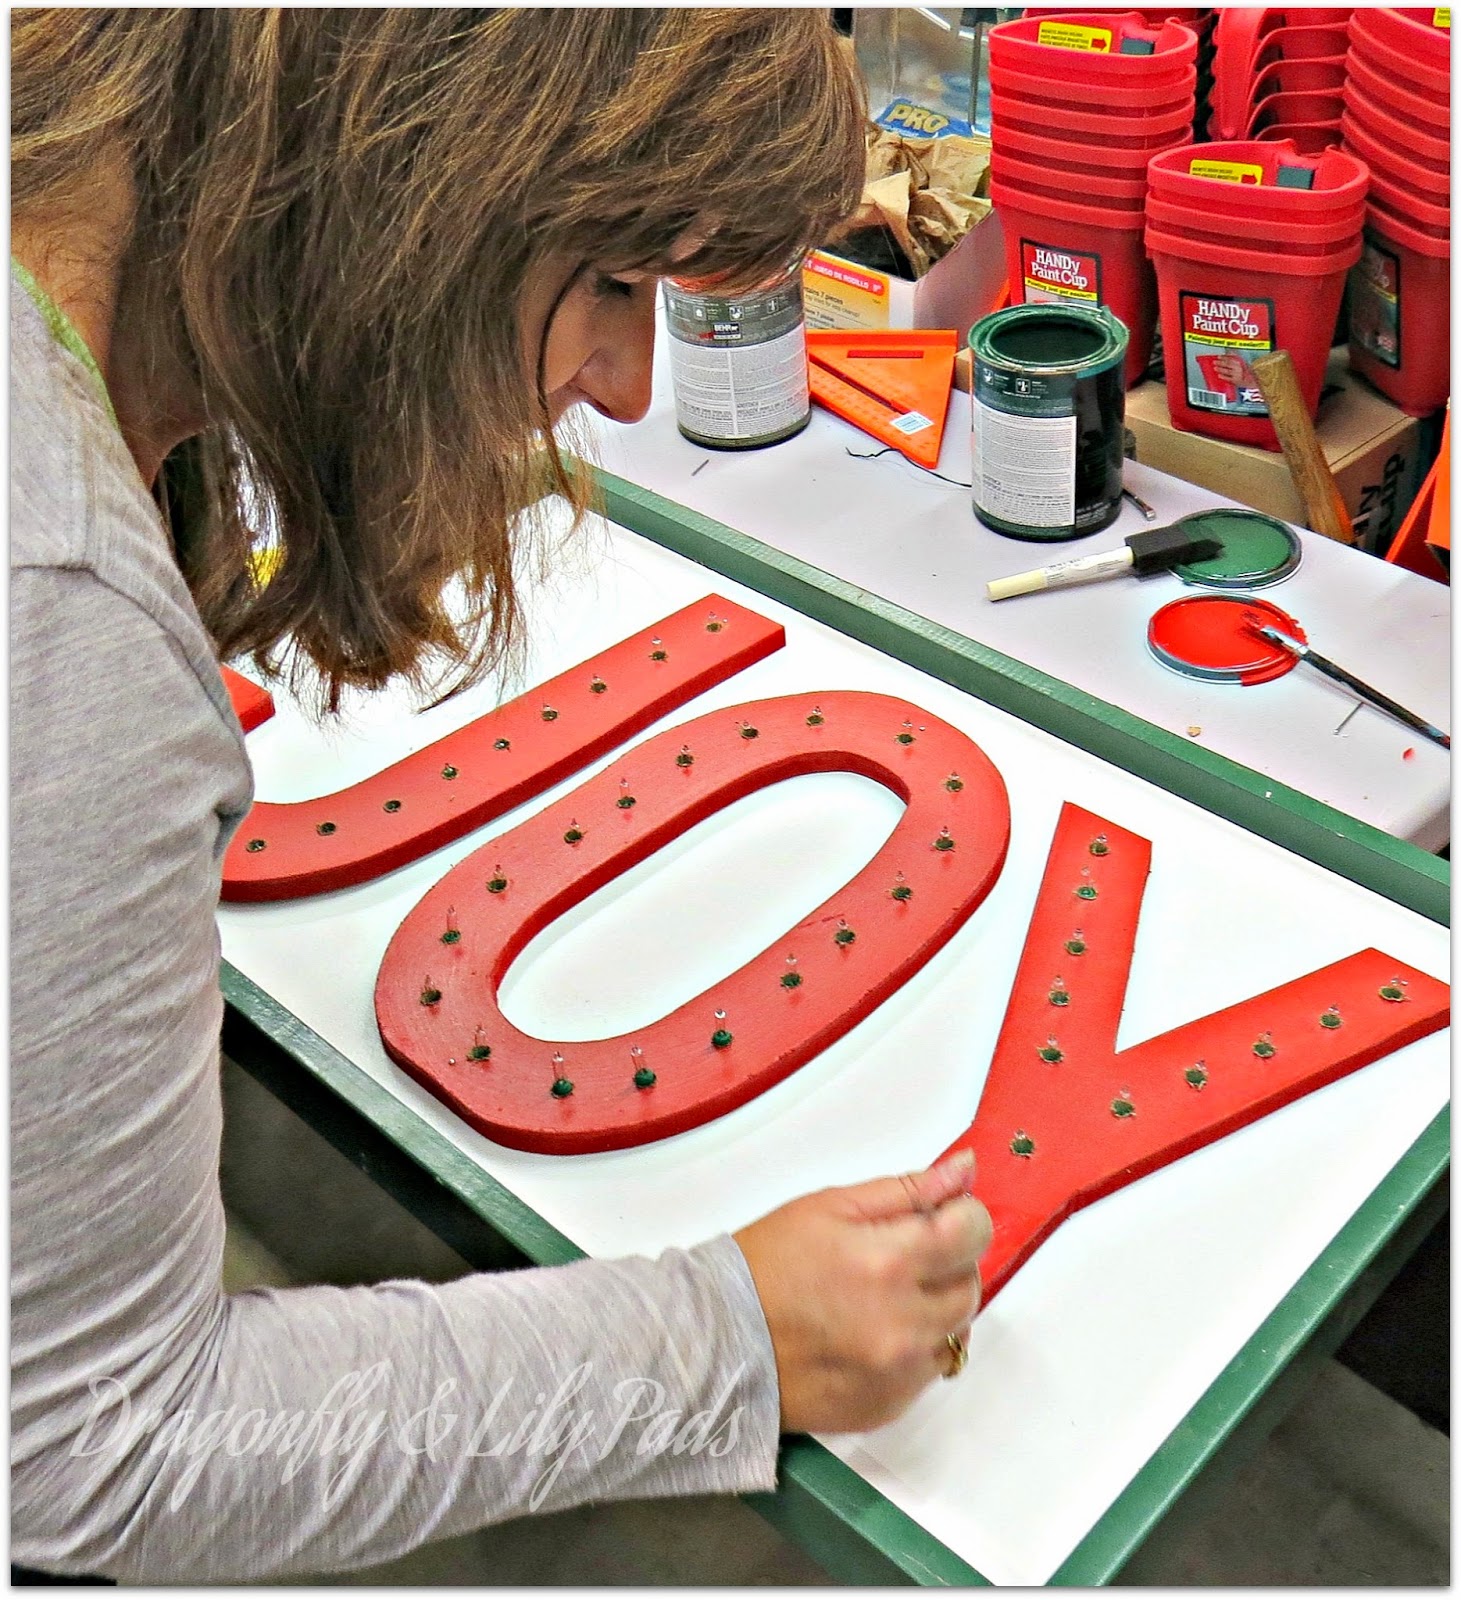
This is how the sign looked after drilling all the holes. Sawdust and paint curls every where. Off to the air compressor to blow off all the debris and make this light shine.
Beth helped us but the best part was right there on the floor in the back of the picture. Behind the the sign you can see a grate in the floor and grey walls. This is where all the sawdust blows right into that area and all cleaned up. Wouldn't that be a blast to have at home. I do not know about you but clean up tips to make creating more fun and finishing more productive is awesome in my book.
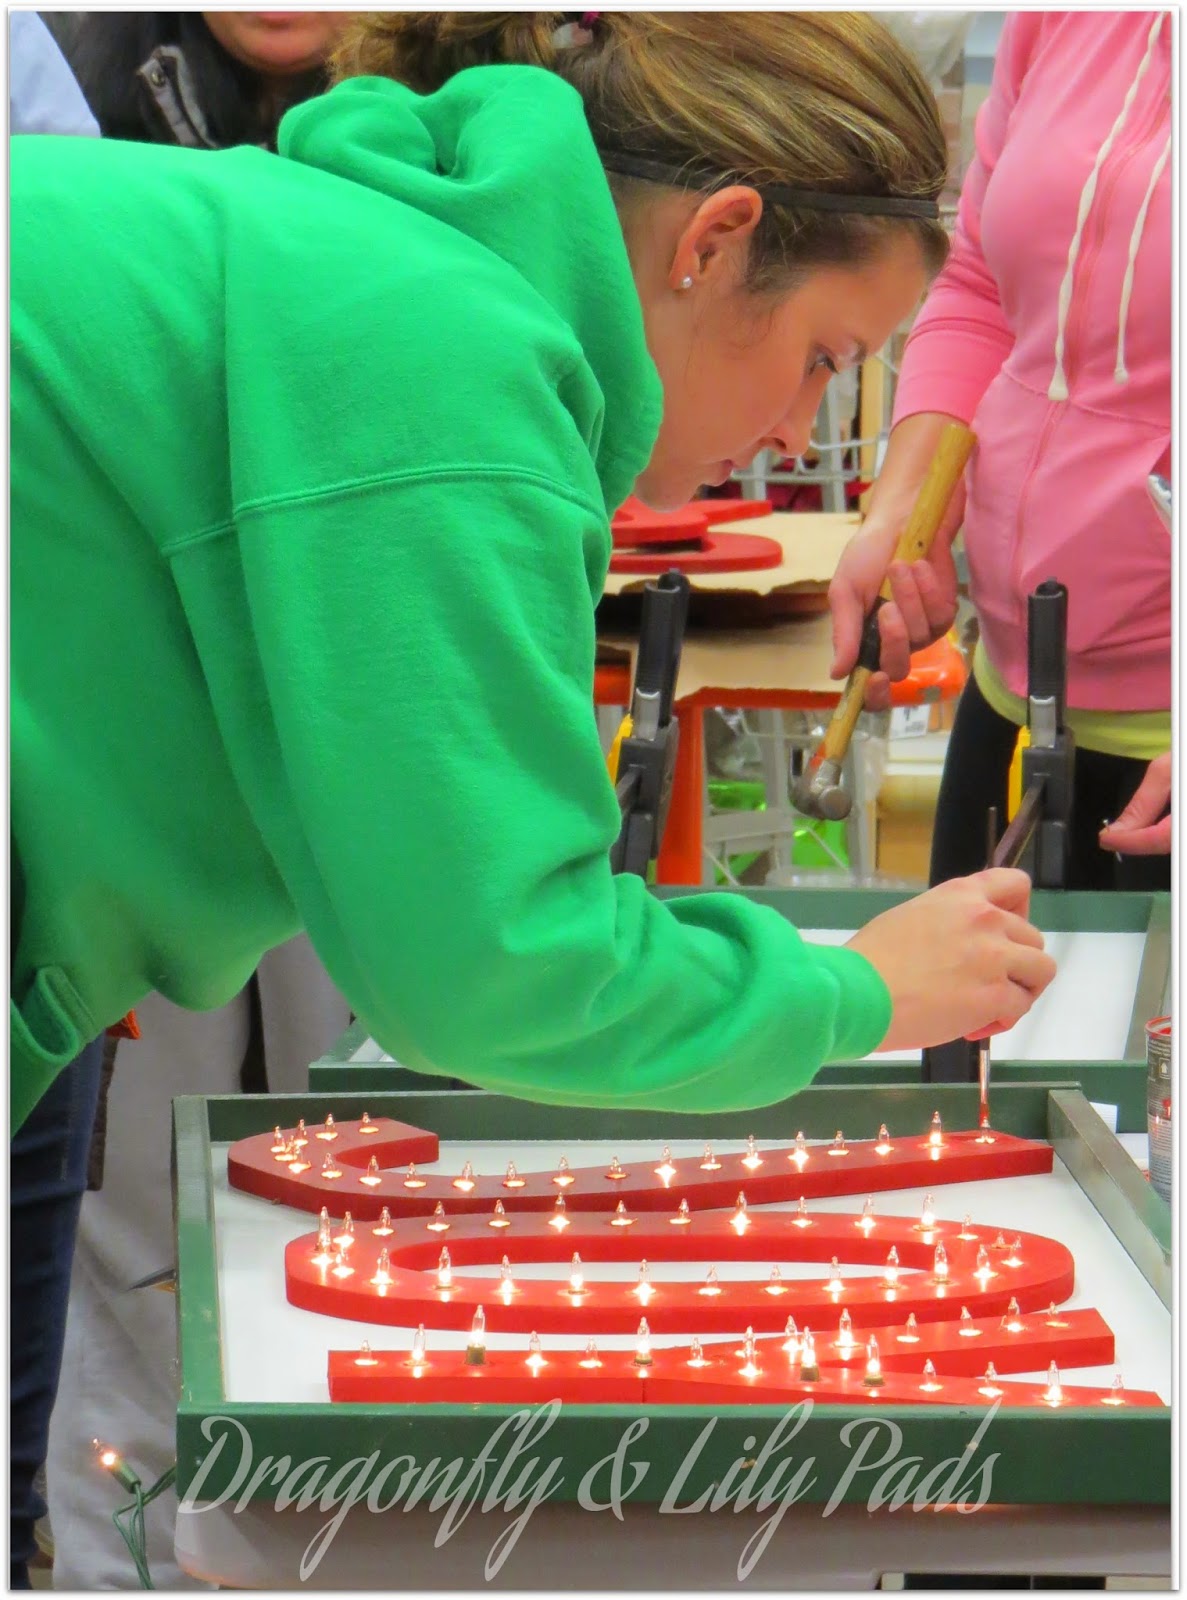
Touch up the nail heads and drill holes with the red paint on the lettering. Do the nail heads with the green paint with the too.
My new Do-It-Herself Workshop friend Colleen used all One Hundred lights and is touching up her paint. We both agreed this step would be easier before we put the lights in place. With the work shop time restraints this would have been impossible but, at home you would have time to let the paint dry over night and then place the lights.
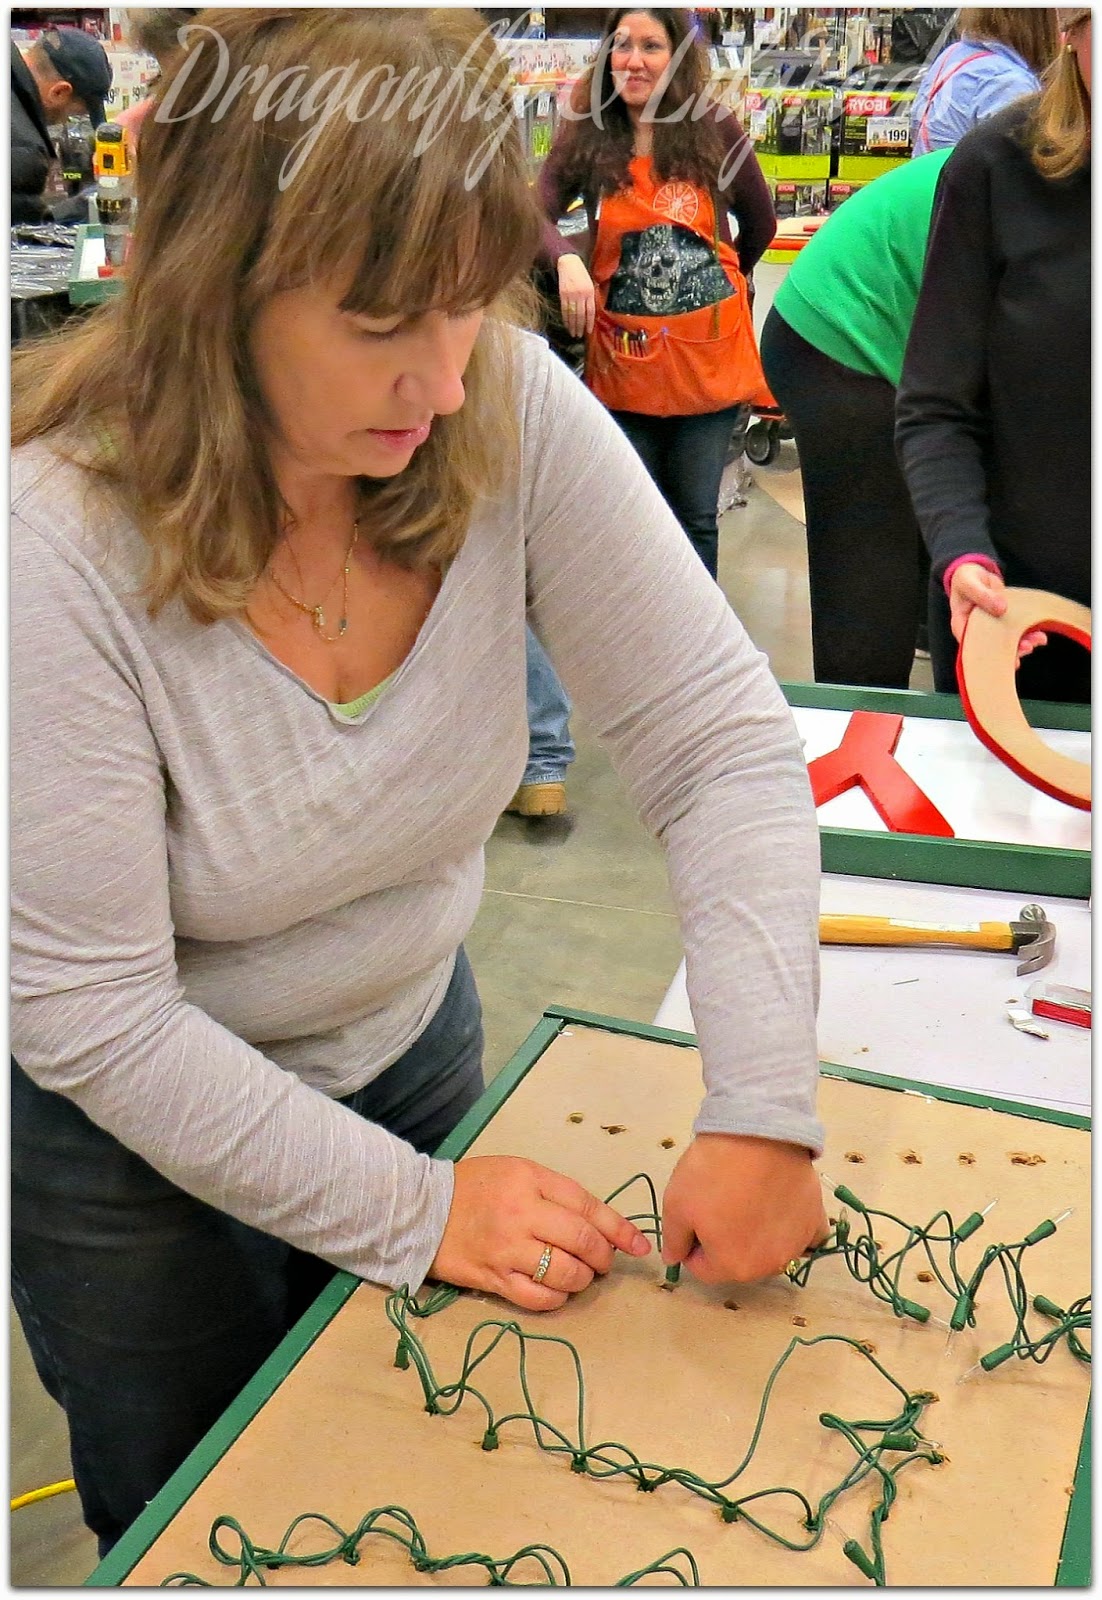
This is a strand of 100 White Christmas lights. I started at one end and of the drill holes and proceeded to the other end. My friend used all 100 lights but I choose not to count going with eyeing what looked good to me.
While weaving the lights into the holes I realized the plug should end up in a bottom corner. The plug is now in a position to simply plug it in to the wall or lights with out being so noticeable. Once you have your lights on place use a heavy duty stapler to carefully stable around the wires to hold the lights in place. Do not let the staple pierce the wiring or you will have to get a new string of lights. *Fire Hazard
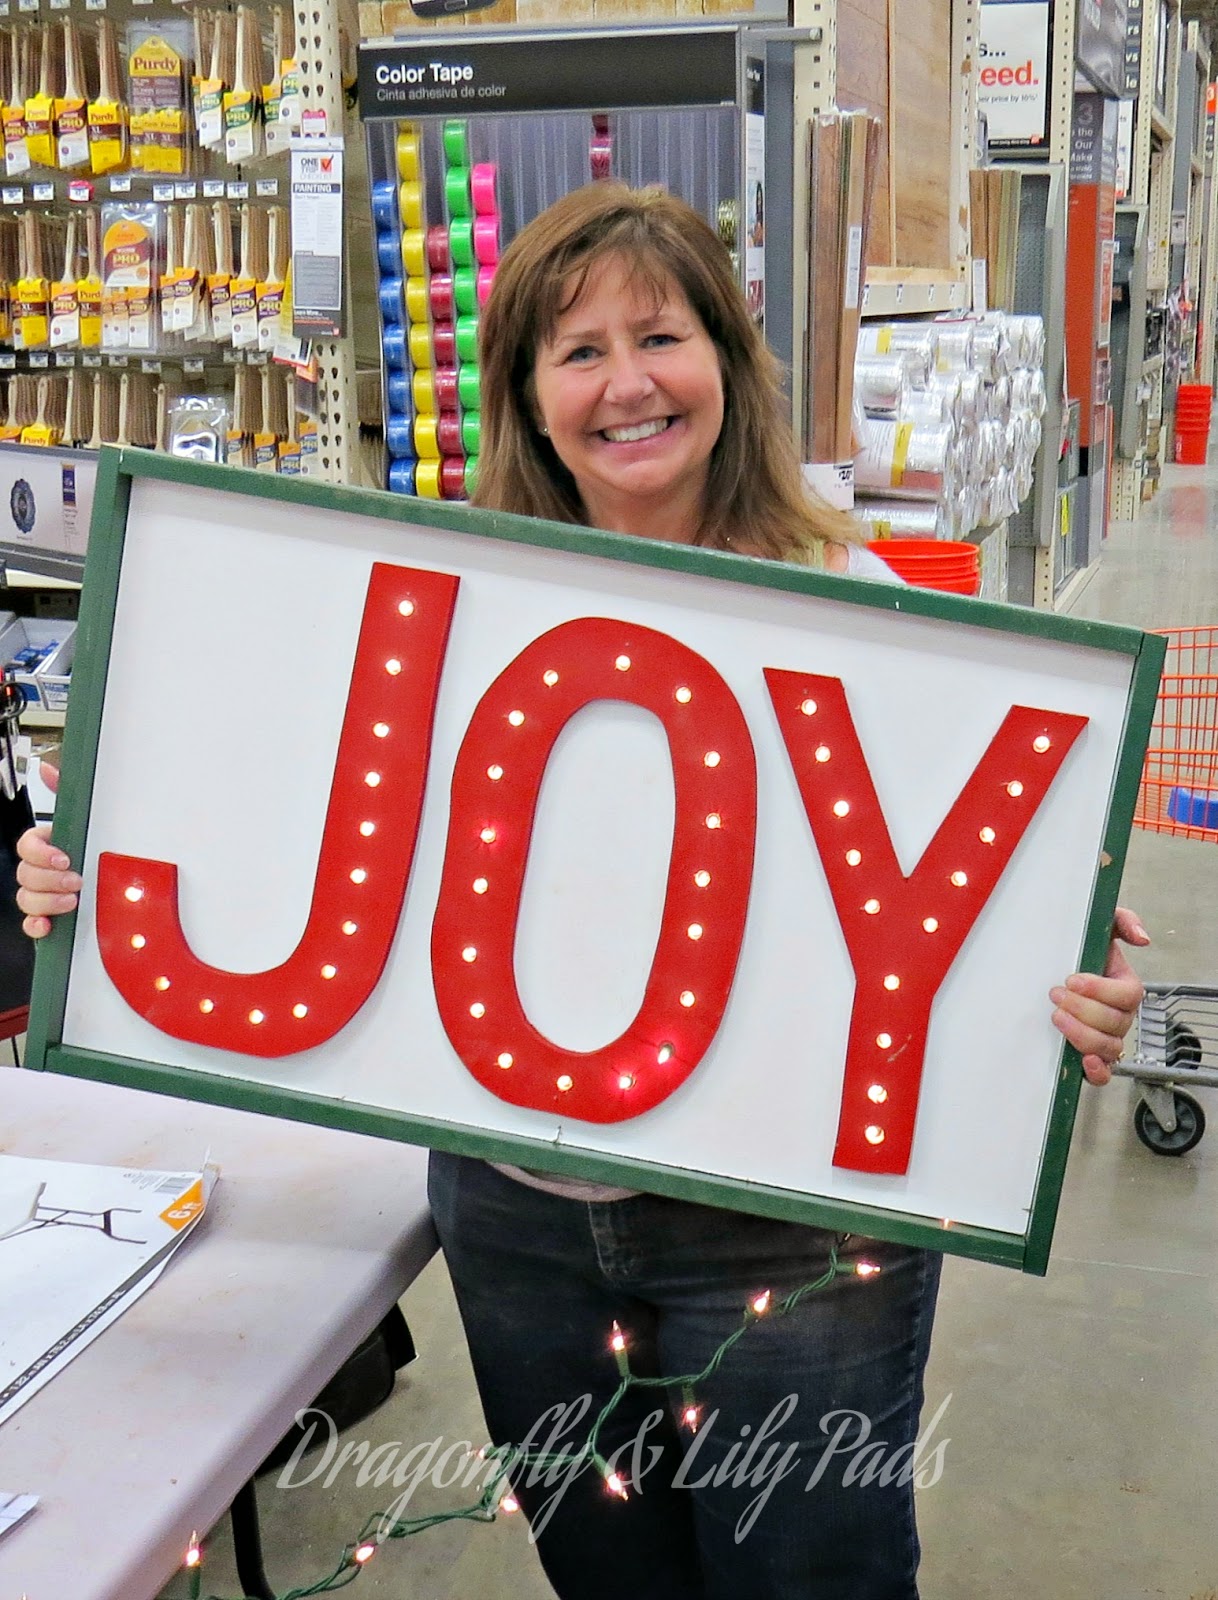
Here I am with my completed Joy Marquee Sign inspired by +Ana White
I built more than a sign this evening with these ladies. The +The Home Depot of Countryside, IL. showed how willing they are to help woman learn to become trained in using tools of all kinds. I built relationships with new people, found new resources, and most of all friends. Thank you Home Depot for a great night.
As promised here is the link to the supplies, measurements and directions on how to make your own Home Depot Ana White inspired Joy Marquee sign.
I added a little +DecoArt Champagne Craft Twinkles to the letters and the edge of the frame. I am very happy the Joy Marquee sign fit in perfectly with the mantel this year. Merry Christmas & Happy New Year to all!
Fly along my blogging journey with me (Click links below to stay connected)
~ Let Your Creative Spirit Dance ~
Until Next Time,
Karen Marie
Click on these links to enjoy a few more recent posts.






2 comments:
Karen, this looks like so much fun. I'm going to check with our local Home Depot and see what they have to offer. Thanks for sharing this.
Glenna Anderson,
I had so much fun at the Home Depot. The link to see when the next date is on the blog. You find what is at your HD and can reserve your spot. It is easy and fun!
Happy Creating Glenna,
Karen Marie
Post a Comment