
I had the honor of subbing for the Silhouette School blog a while back. This is an update to the post I shared there. We have come a long way baby in materials for Faux Etched Glass. Since I wrote this post you can now find window cling readily available. I still is more cost effective to use the frosted vinyl you find at the fabric store but it depends on your needs.
Here are my suggestions as to which material to use for each type of project you are making.
If you are using Window Cling Vinyl consider these attributes of the product.
1) Durable 2) Reusable 3) Higher Cost 4) Better for long term ex: Home Decor
When using Frosted Vinyl yard goods there are different attributes to consider.
1) Disposable 2) Delicate 3) Lower Cost 4) Great for Party Decor
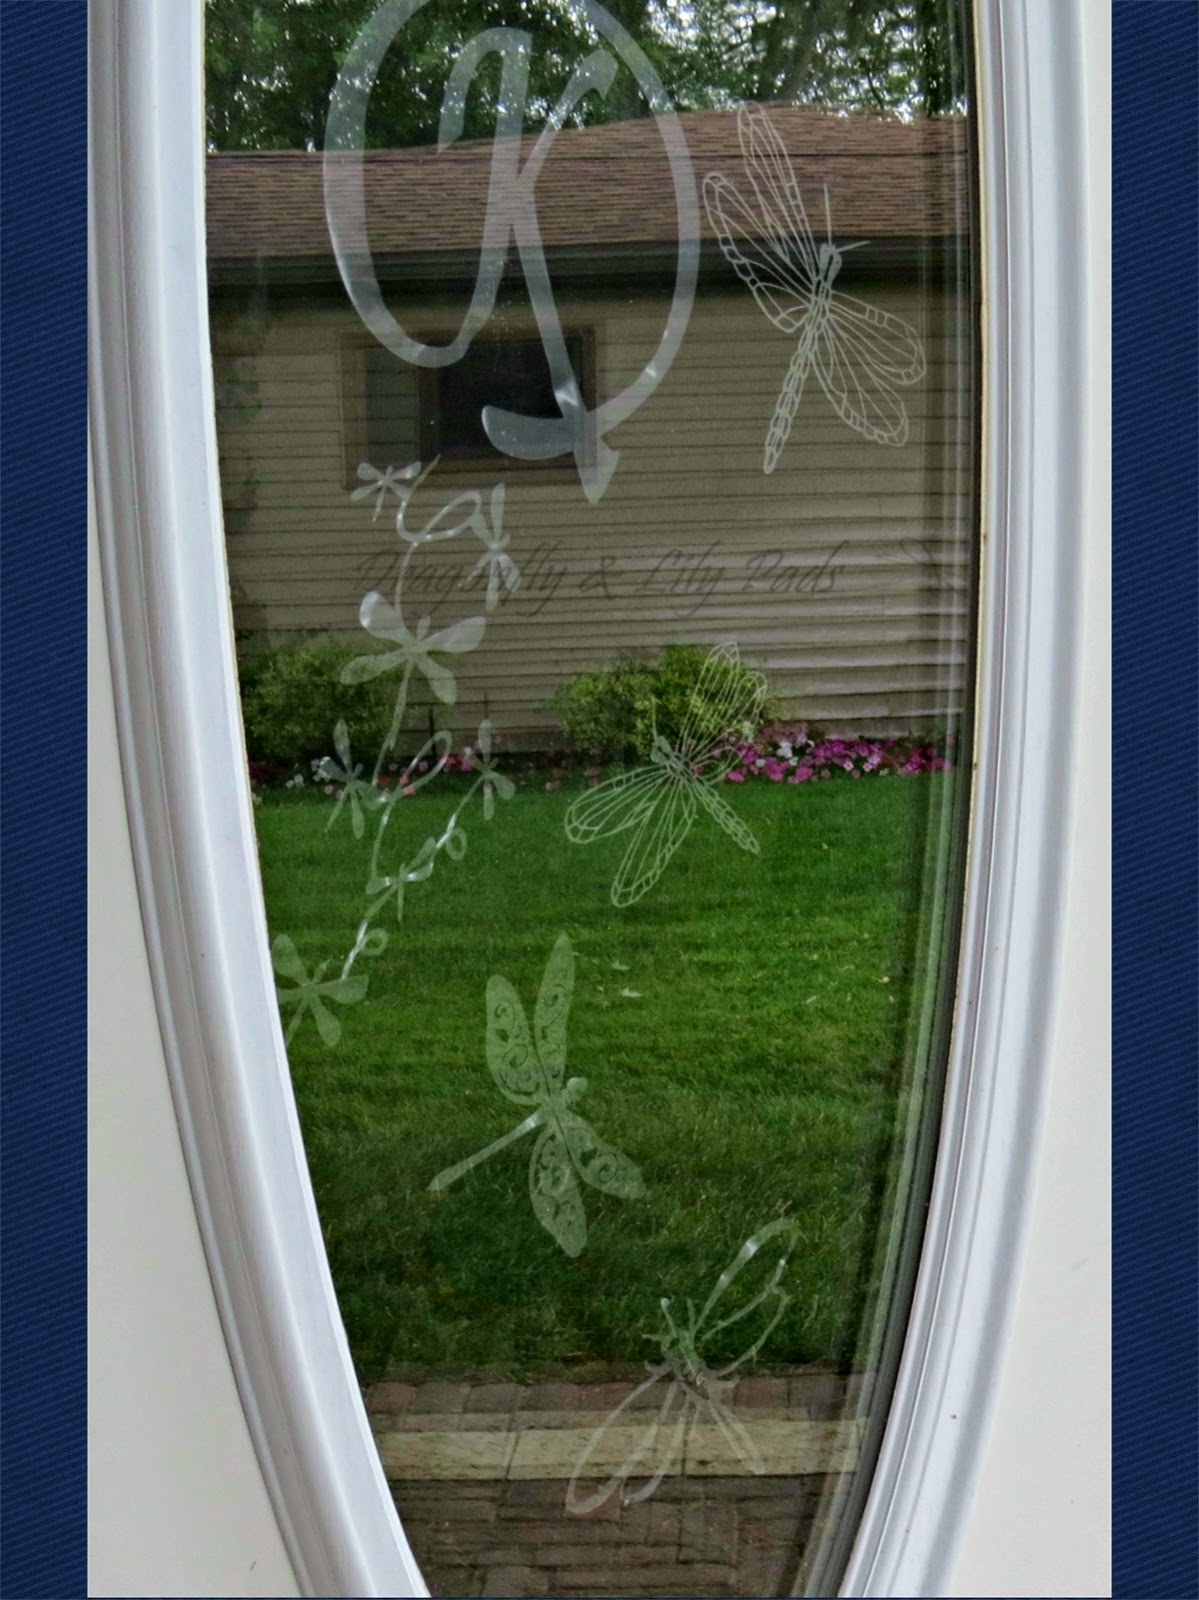
As you will find as you continue to read I decorated my door at the lake. The climate is always damp even on on a sunny day or draught. There is moisture everywhere. The original post that I have updated is more than two years ago. The dragonflies on the Back door are still there. The K is gone but the rest of the faux etched glass completed on the original post did not come off. I did wash the window and rearrange them since then. Watch my Keep on eye on my instagram during the next few weeks and I will snap a picture during my next visit.

Frosted vinyl (1 yard $3.50 of light weight frosted vinyl found in the home decor dept. of +Jo-Ann Fabric and Craft Stores )
Silhouette 12 x 12 Cutting mat
Sharp scissors,
+Silhouette America Cameo
Cutting blade
cut design choice(s) (see below)
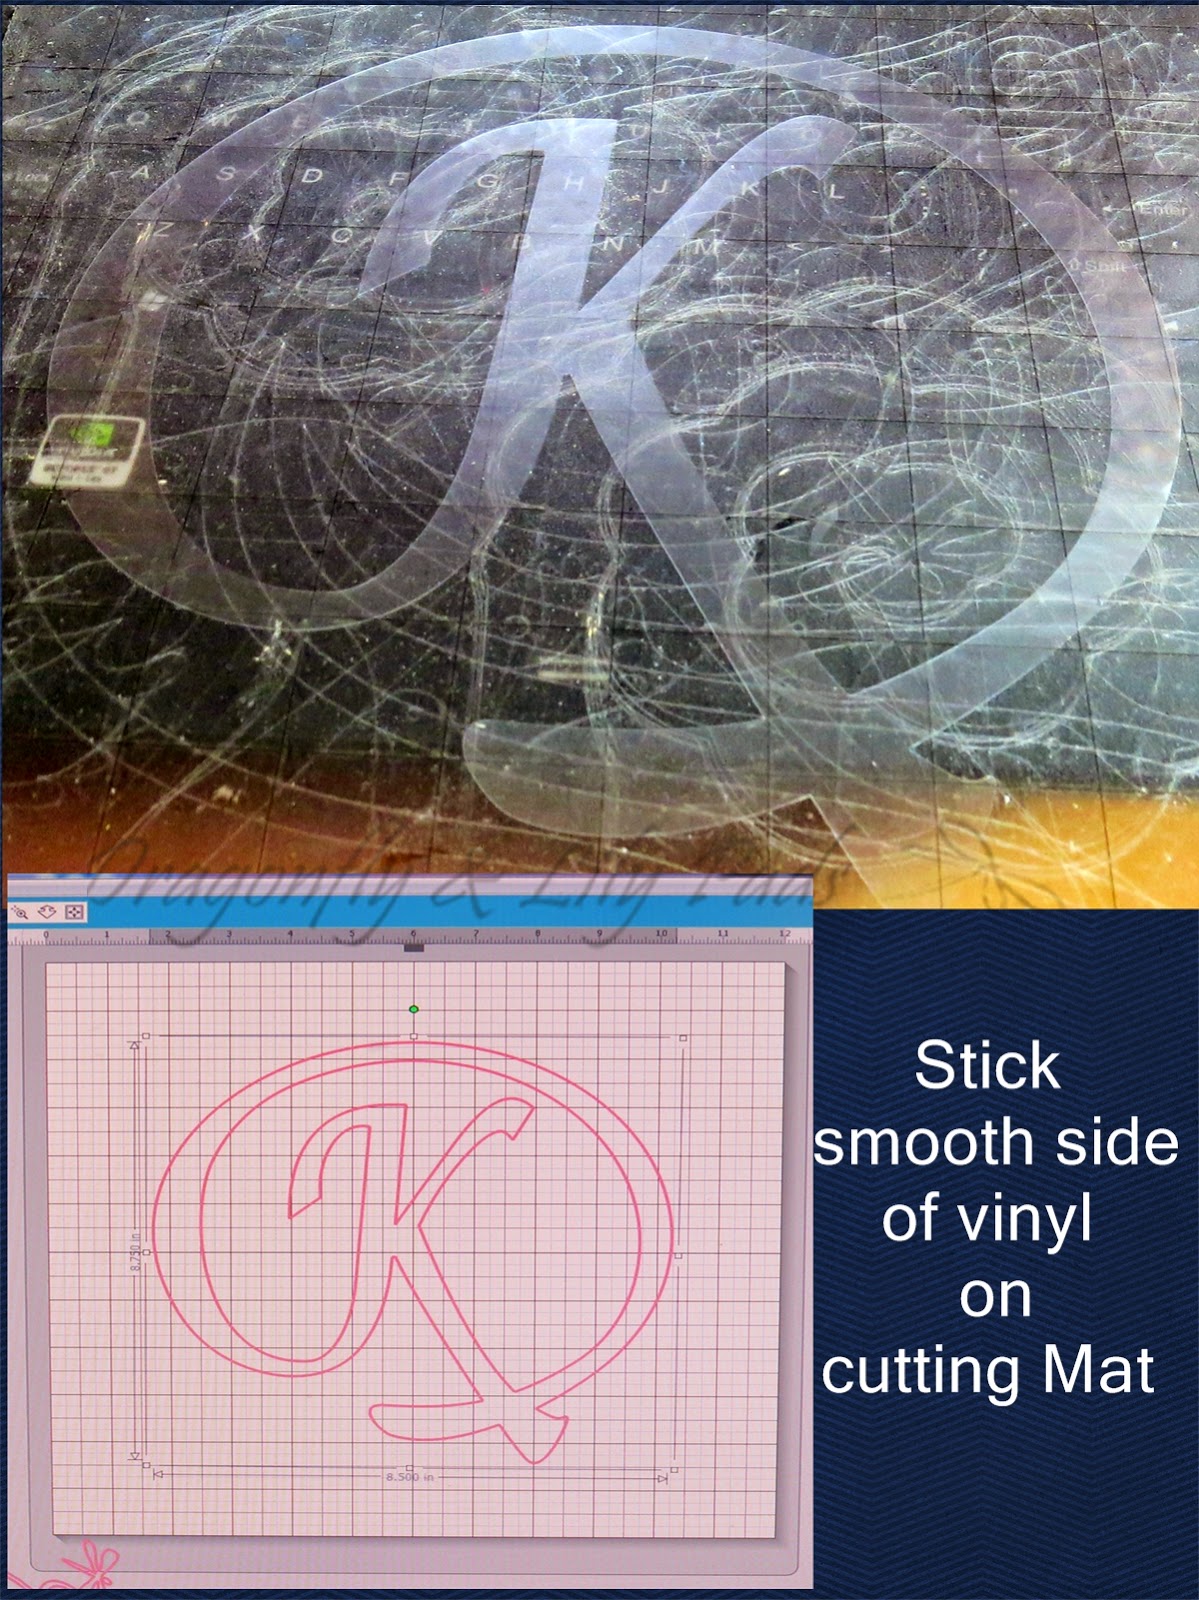
First cut 12" X 12" squares of frosted vinyl.
Slowly lay the shiny side of the vinyl down on the 12" X 12" cutting mat. Make sure to smooth out all wrinkles and bubbles.
Notice the page settings below.

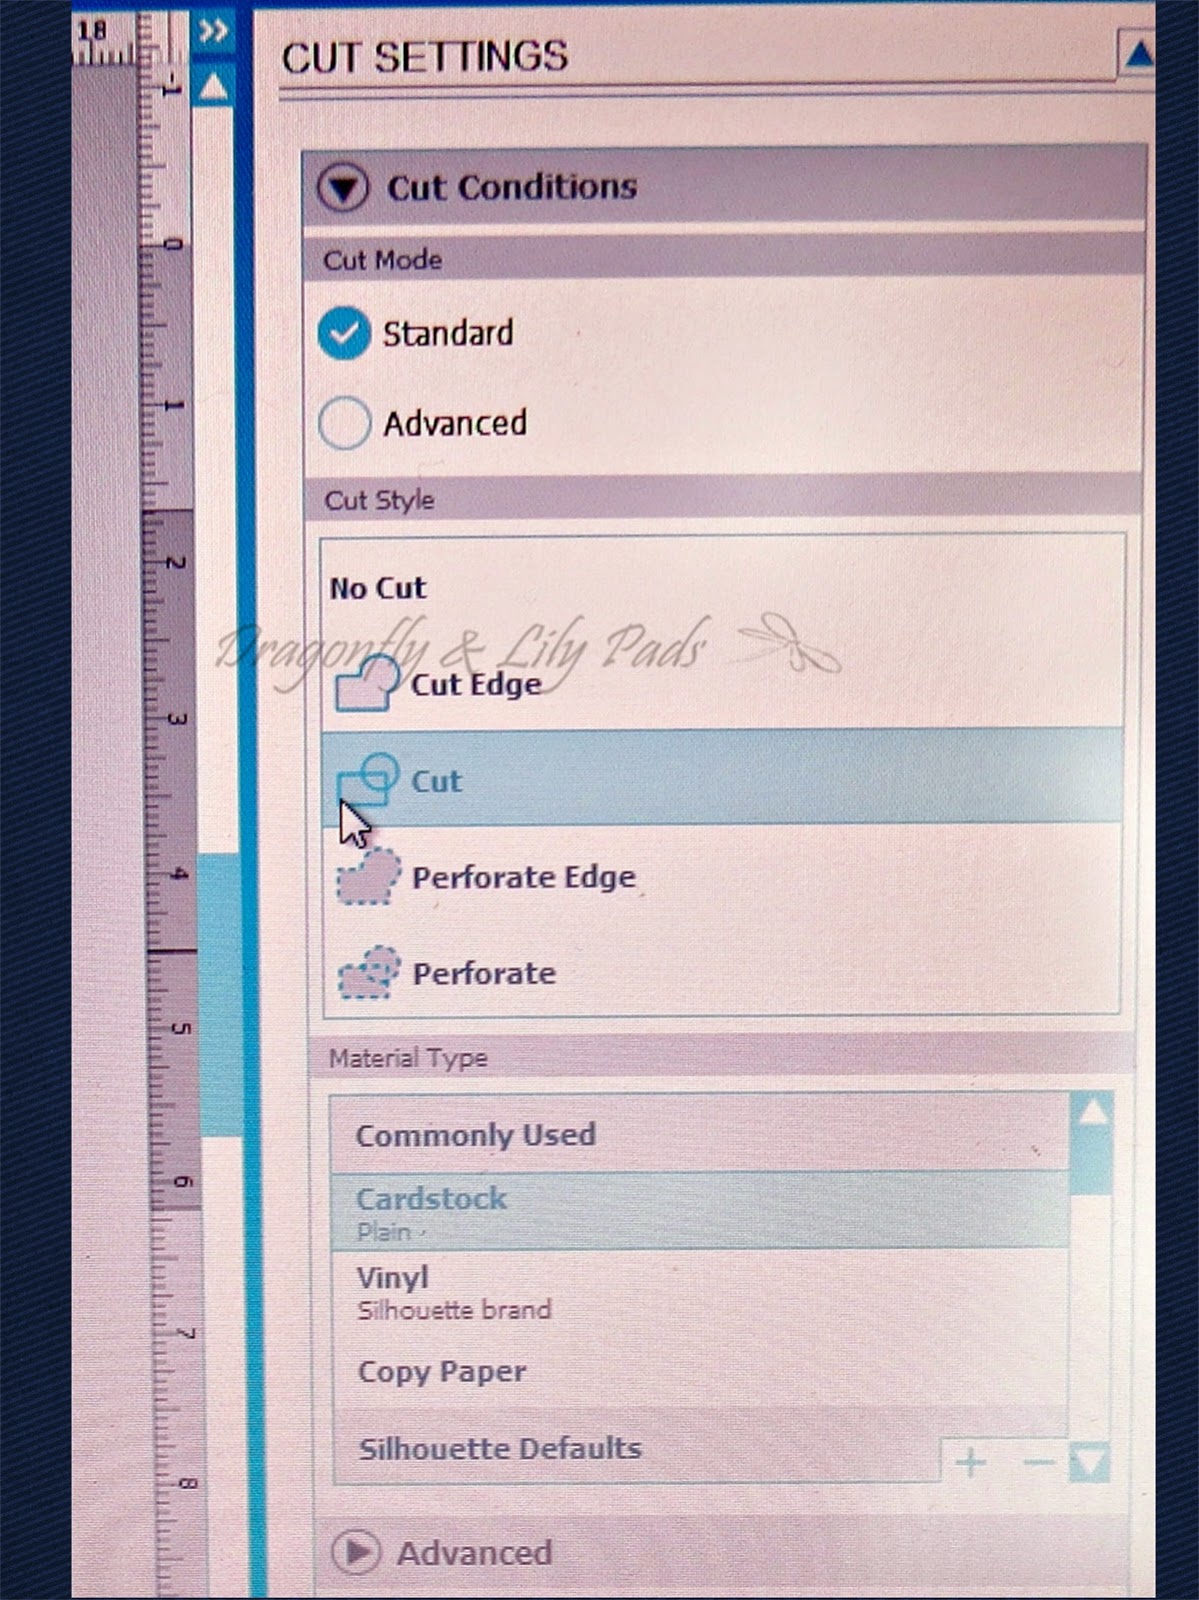
Follow the cut settings above, the material type was set to Silhouette brand vinyl.
The blade was suggested to be set at 3 but, I found 5 worked better.
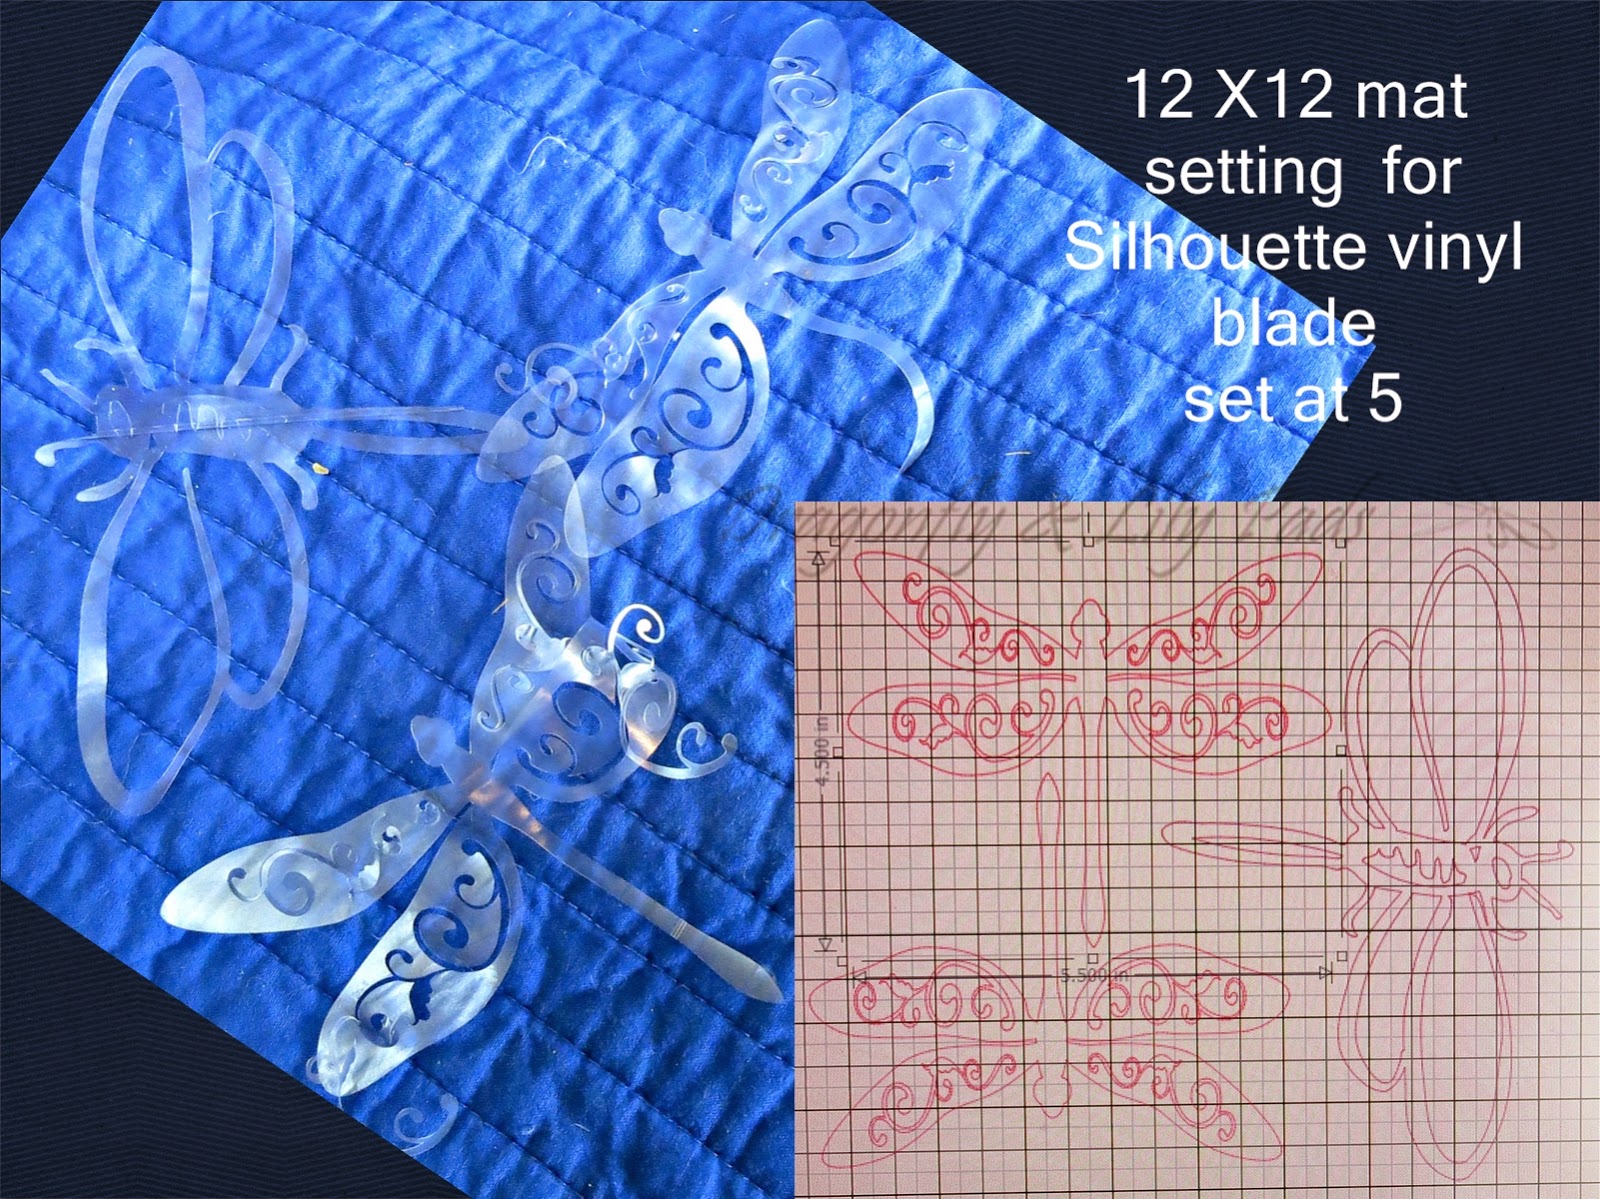
In the picture above, after weeding the the mat, a few pieces did not cut through. I gently loosened the cuts until I came to vinyl that was not cut. I took a small scissors to carefully snip the tethered pieces free.

Here are a few examples of designs I cut.
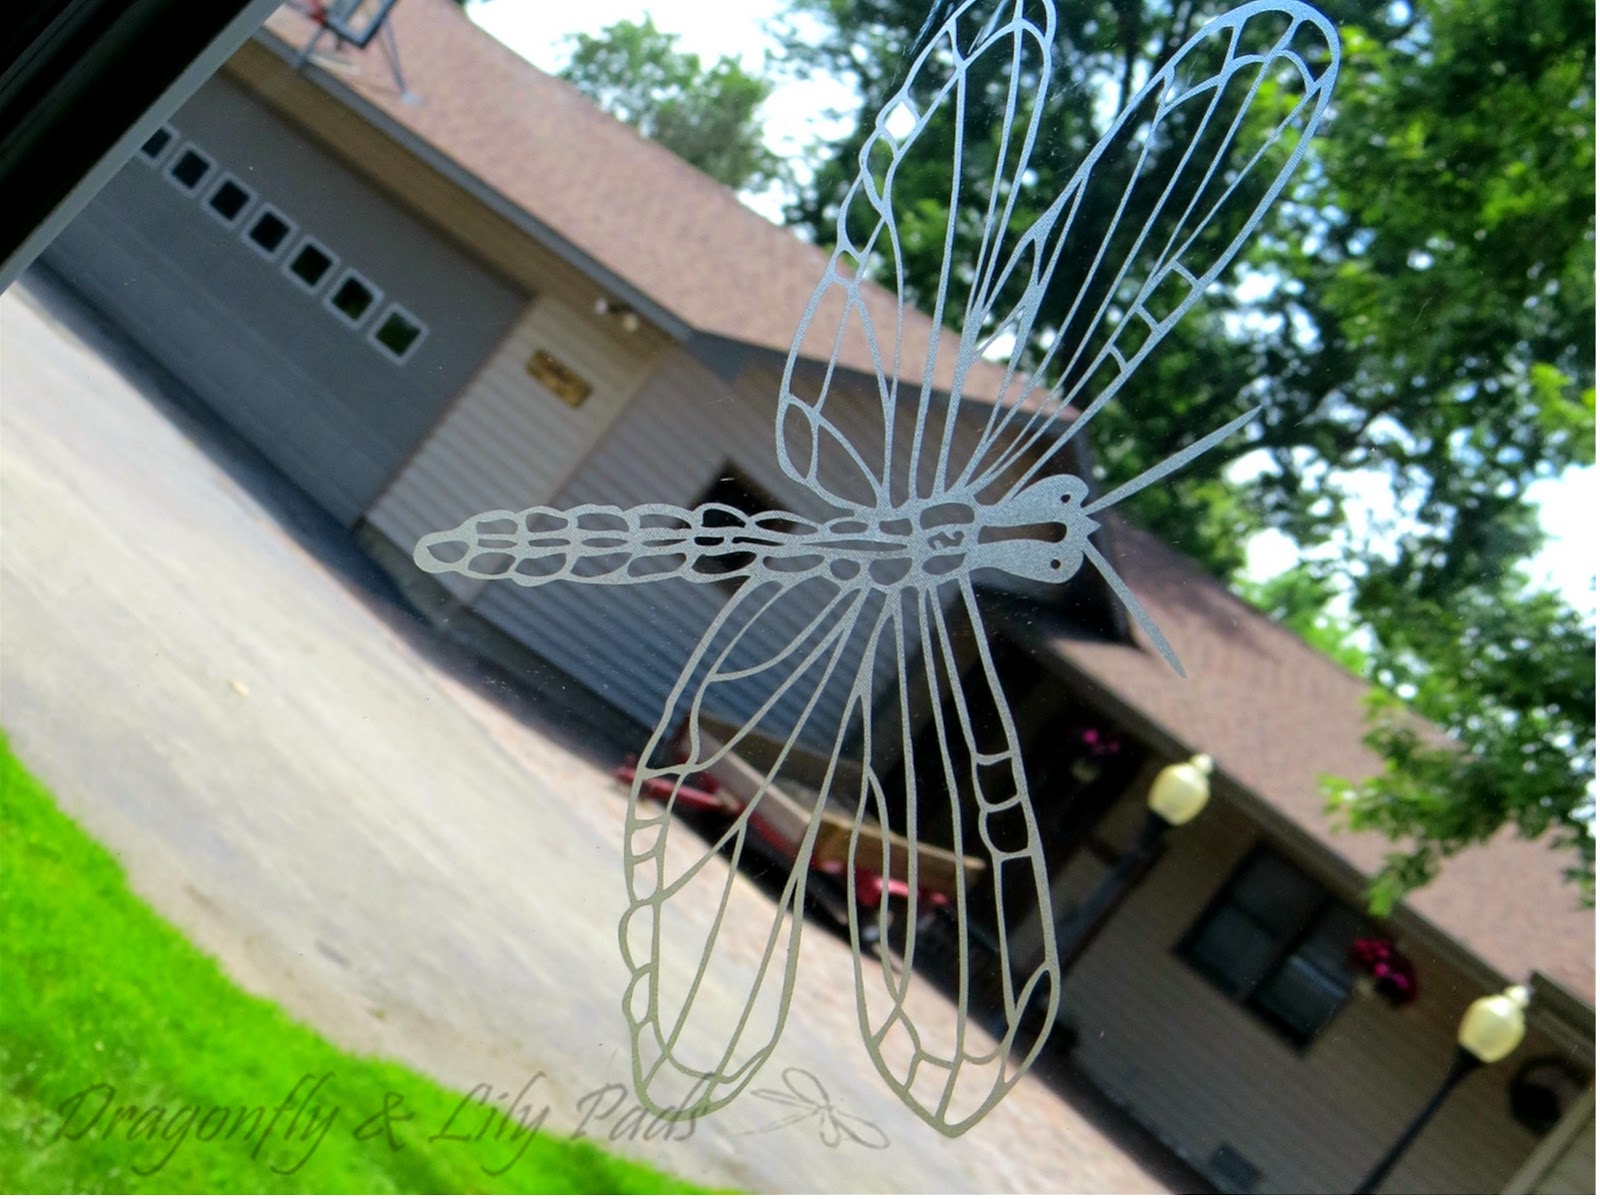
Notice the static cling is keeping the design in place.
This picture show you the effect frosted vinyl on my front door.
Helpful Hints:
1.Keep size in mind while choosing design, the larger pieces will be heavier. Weight is not your friend, it does not cling.
2.The vinyl is delicate, it does tear, gentle, slow and careful are important.
3. One yard of frosted vinyl leaves plenty of extra material for a learning curve, or more projects.
Your time is precious and I am honored to share part of your day. Please leave a comment and follow the social media. I would love to learn more about you.
Thanks for visiting today I will see you again soon.
~ Let Your Creative Spirit Dance ~
Until Next Time Happy Creating,
Karen Marie


3 comments:
Hi Karen, this post is really beautiful. When I first saw the picture I thought your post was going to be about how to etch glass. This is so much easier to do.
I love the little dragonflies. I am going to pin this post. Hopefully I can find the product at Michael's in Canada.
Thank you for the inspiration, lovely idea.
This is so creative Karen!!! I love it!!! Especially the "K."
Wow, cool post. I’d like to write like this too – taking time and real hard work to make a great article… but I put things off too much and never seem to get started. Thanks though.
Textured Glass Windows
Post a Comment