An Easter with two lovely ladies willing to share traditional egg dying was a great blessing. Below is a collage of the basic process. The best part of this lesson was they taught this technique to new generations.

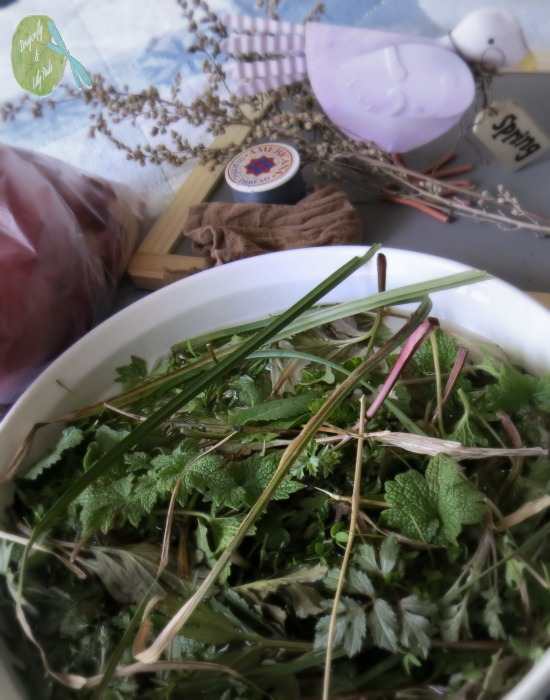
Most of the supplies you need are found in your backyard, sewing basket, sock drawer. and the grocery store.
Shopping List
Eggs
Red Onions for the skins
Pantyhose, or knee high nylons
greens and flowers from outside
Honestly, the pantyhose would be the hardest for me. Believe it or not, I am not wearing pantyhose as I am typing this post at home. LOL!
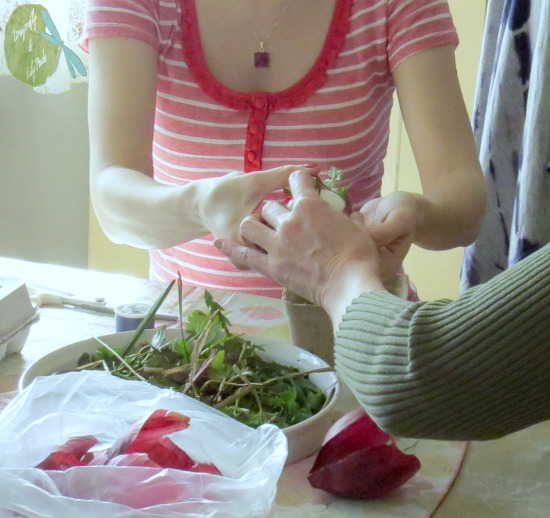
This sweet hand is a new generation learning traditional egg dying as he shapes the greens around the egg.
Look closely at the hands in this picture. One of my favorite photos of the day as mother and daughter take a team approach teaching the next step. One stretches the nylons as the other carefully places the egg.
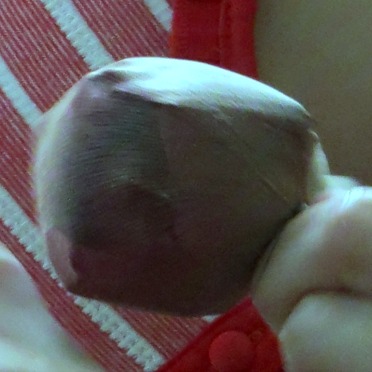
Some have the onion skin inside the nylon to enrich the color. This picture shows the twisting of the nylon to pull it tight. Snuggly holding the decorations in place. The photo is not blurry........................the egg is moving!
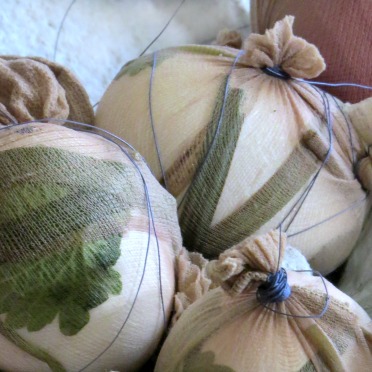
The thread is then wrapped around the egg to secure the plants tighter before they are boiled in a bath of onion skins and water.
The eggs are boiling in the water.
This is where I learned a few lessons. I chose to cook the eggs on our outside burner of the grill for safety reasons in a busy house. I also boiled the eggs ahead of time because that is how we color egg with dye.
Not this time Darlin's! Yes, did you catch my mistake? You boil the eggs to color them which saves a step and cooks them at the same time. Whoops!
Are you wondering what the second lesson is yet? Cooking outside on a windy spring day is not advised. The flame fluctuated under the pot causing the boil time to take much longer.
After a very patient crew worked through my learning process. The next step is cold water to cool down the eggs to get to the unveiling. Where you cut the thread and nylons with scissors to reveal the egg.
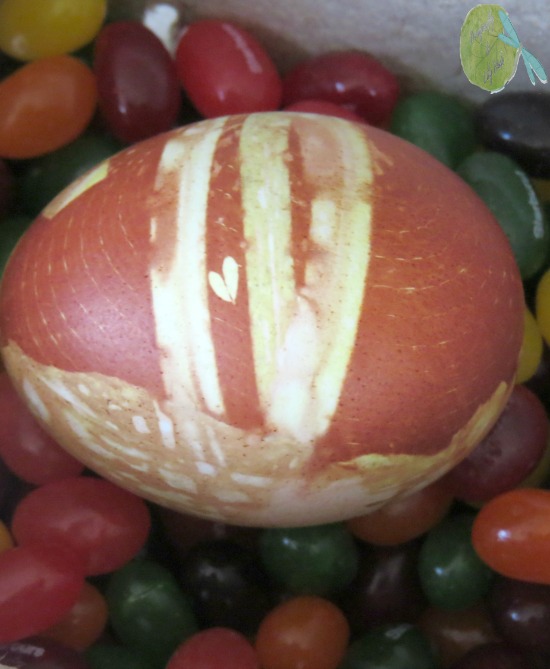
Ta Da! The egg I did and wouldn't you know a heart is right there in the center. Awe!!
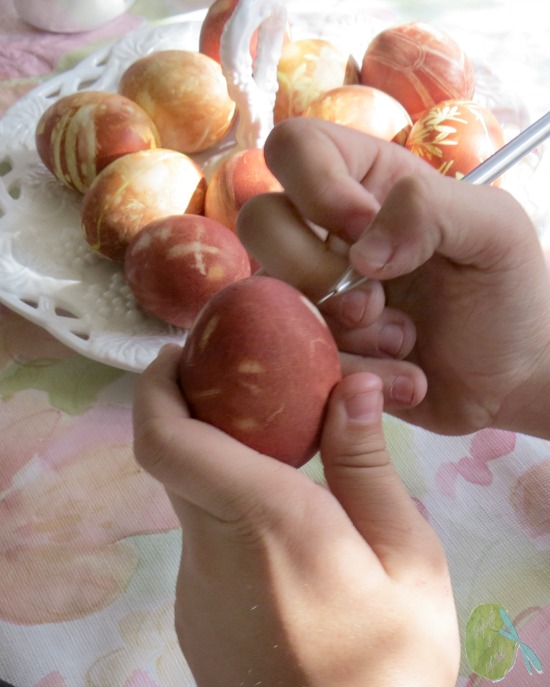
The eggs look gorgeous in the filtered light of the room. You can also etch the eggs to add more designs. My great nephew at work etching his eggs.
I would like to thank my son A, his girlfriend and her mom for organizing Easter traditional egg dying for our Easter celebration. Cheers to the generations of talent at the Easter table passing on a beautiful tradition.
Connecting with you is fun for both of us. Please follow me on the Social Media below.
Why look for the next post? Save time and have D&LP fly right into your inbox.
~ Let Your Creative Spirit Dance ~
Until Next Time Happy Creating,
Karen Marie
More Posts to Enjoy:
Please click on the title below to see the post.






No comments:
Post a Comment